Vintage Sheet Table Runner DIY With Pom Pom Trim
This post may contain affiliate links where I earn a small commission at no additional cost to you. If you purchase anything through the linked website you will be supporting my small blog. Thanks!
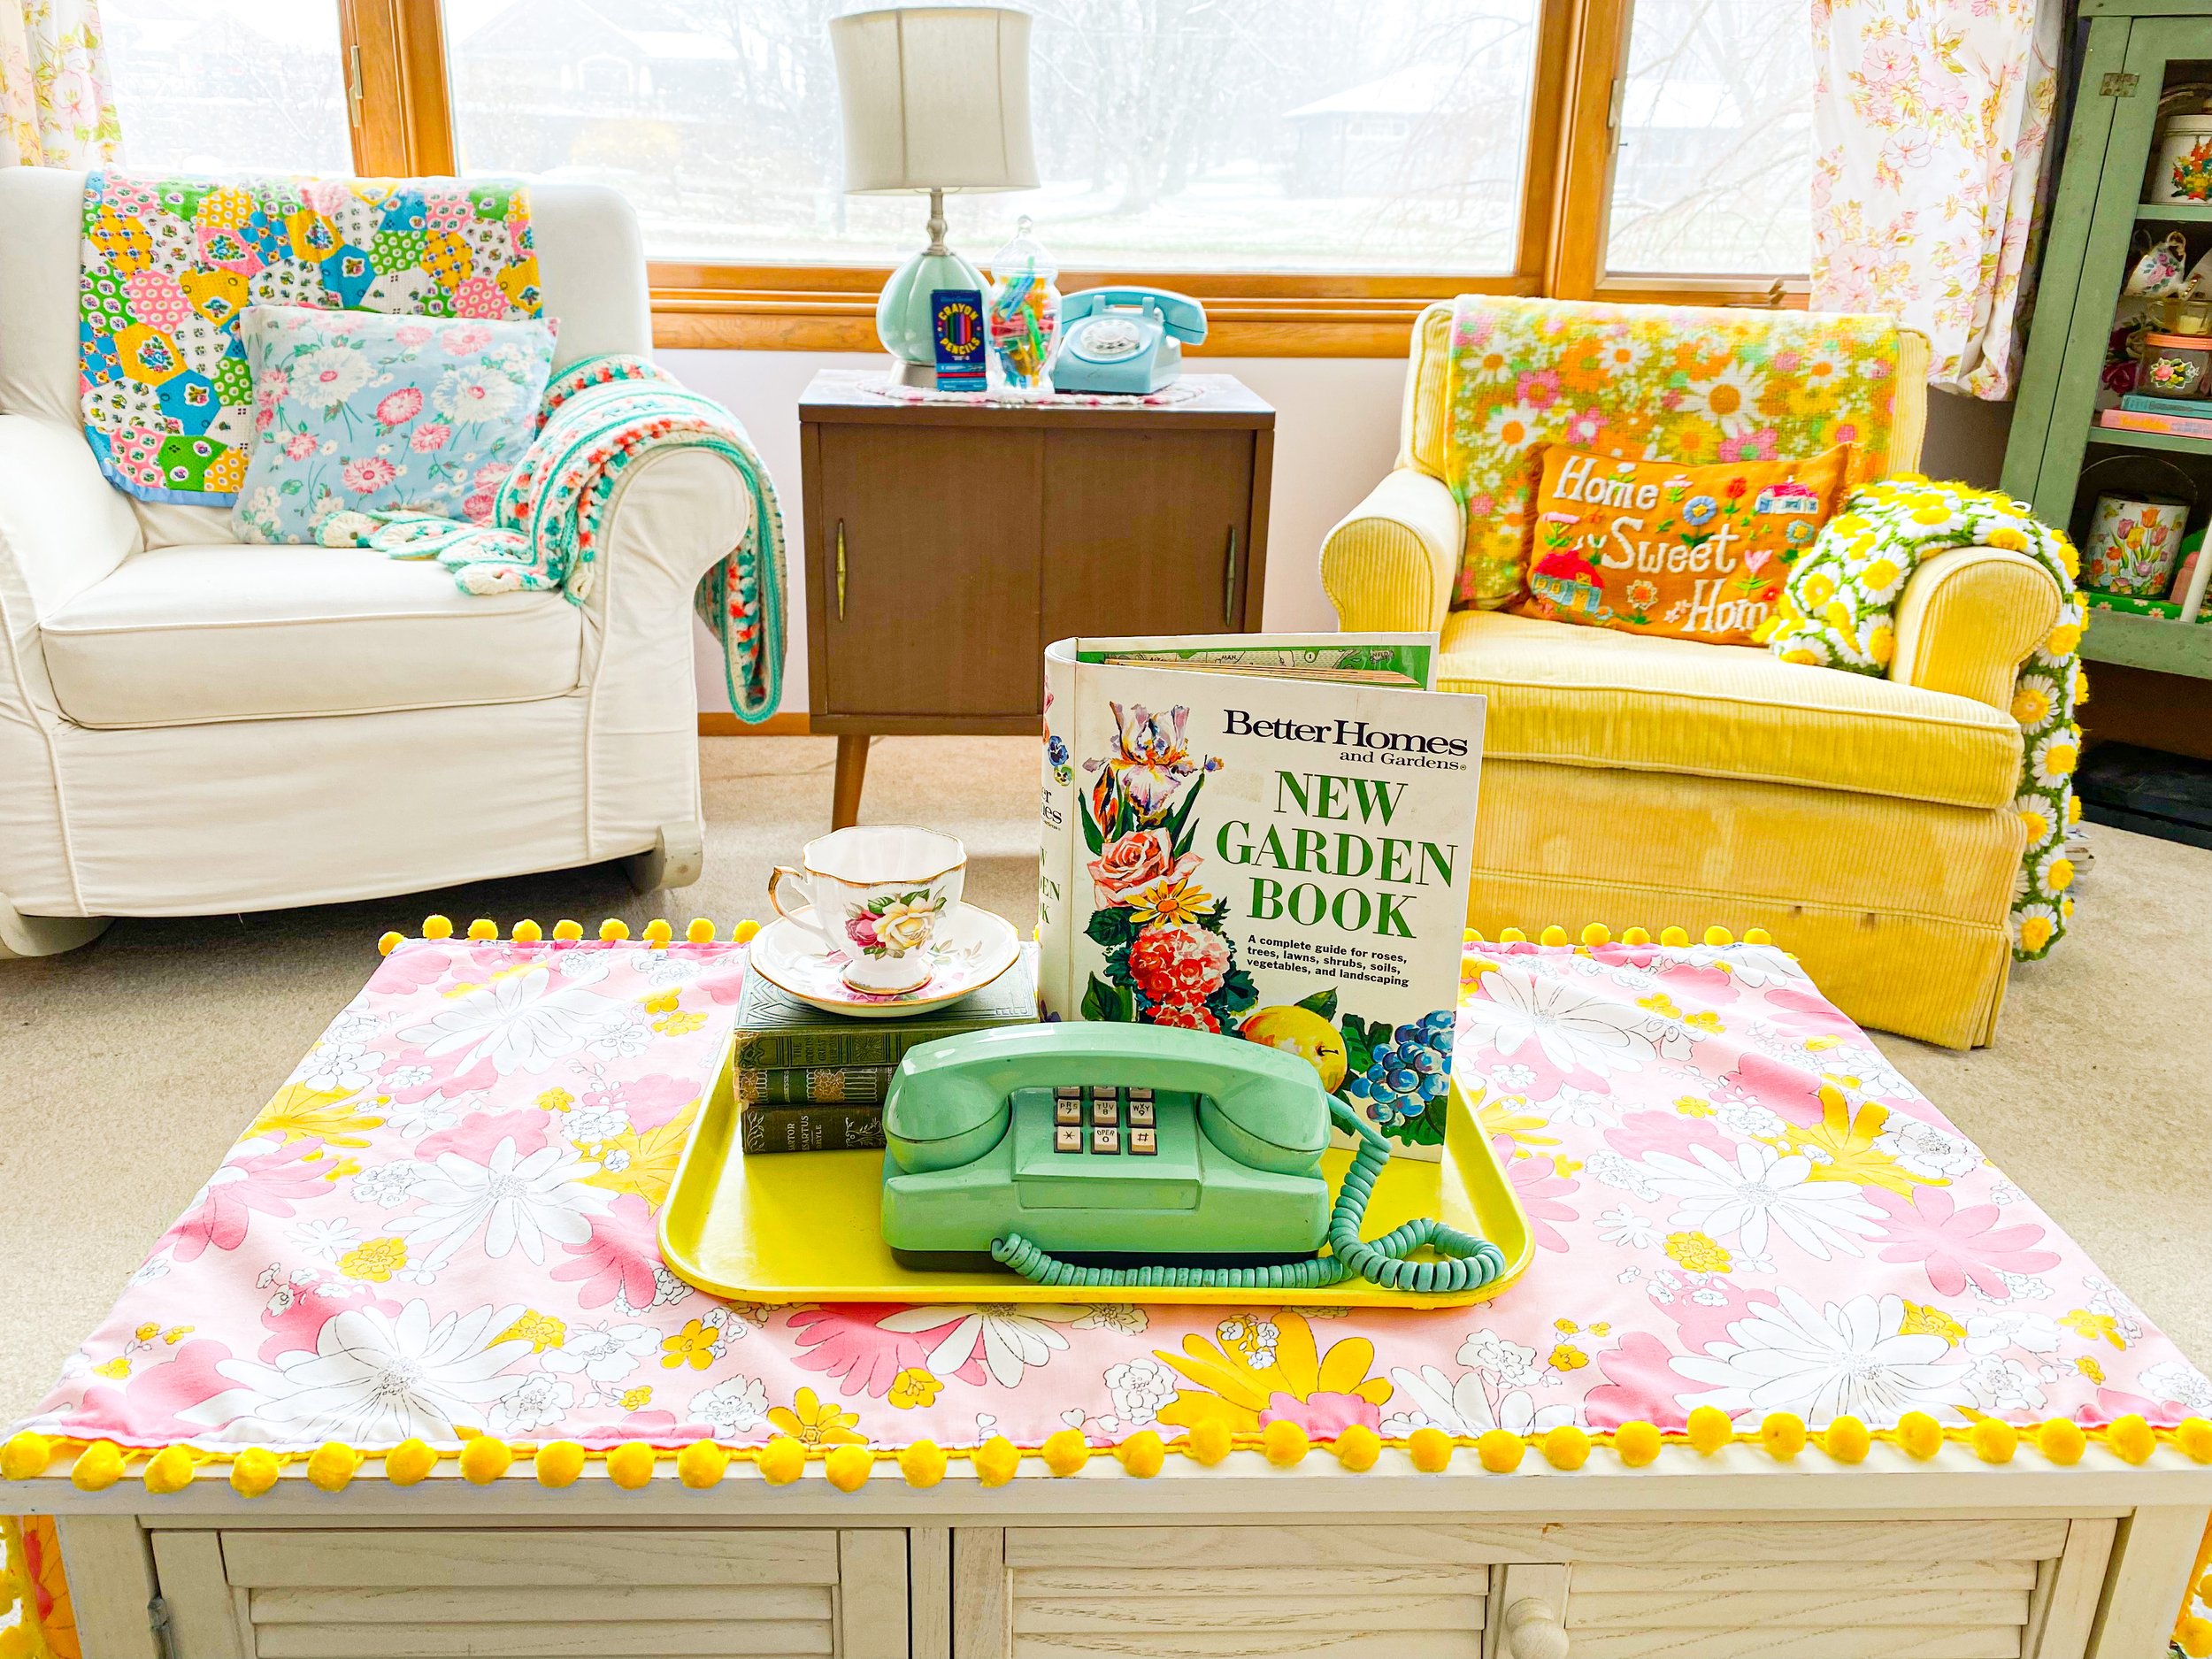
I love a retro table runner that changes with the season. I made a coffee table runner for spring out of thrifted vintage floral fabric. I sewed on colorful pom poms for added texture. The runner is perfect for adding a base before making a coffee table display of vintage finds. Here’s how I did it!
Craft Supplies
Vintage sheet or any fabric of your choice
Tape measure
Sewing pins - I used these quilt clips which made the project really easy
Sewing machine or you could always hand sew
Iron and ironing board
Select Your Fabric
I decided to use a thrifted vintage sheet from my collection. Check out my blog post on Vintage Sheet and Linen Care for Beginners for how you can wash vintage fabrics to use for projects.
Or if you don’t have the right fabric check out my vintage inspired fabric in my shop. Some of my fabric designs are pictured above.
Measure Your Table
Start by measuring the size of your table, mine is 42 inches long by 20 inches wide. I wanted my table runner to be larger than most of the trays I put on my coffee table. Be sure to add extra on each side for however much overhang you want on the side of the table. I added 8 inches on each side for overhang. So that means the length I need is 58 inches.
Calculate the Amount of Pom Pom Trim
The trim needs to go the entire way around your runner. Add up all the sides of your runner with the measurements you took of your coffee table. For my runner it would be 58+58+18+18= 152 inches of pom pom trim. Plus add a little extra just in case. I bought 160 inches of trim.
Cut and Iron the Fabric
Cut out the dimensions of your fabric which will be a large rectangle. Be sure to add an inch on each side to account for hemming the edge.
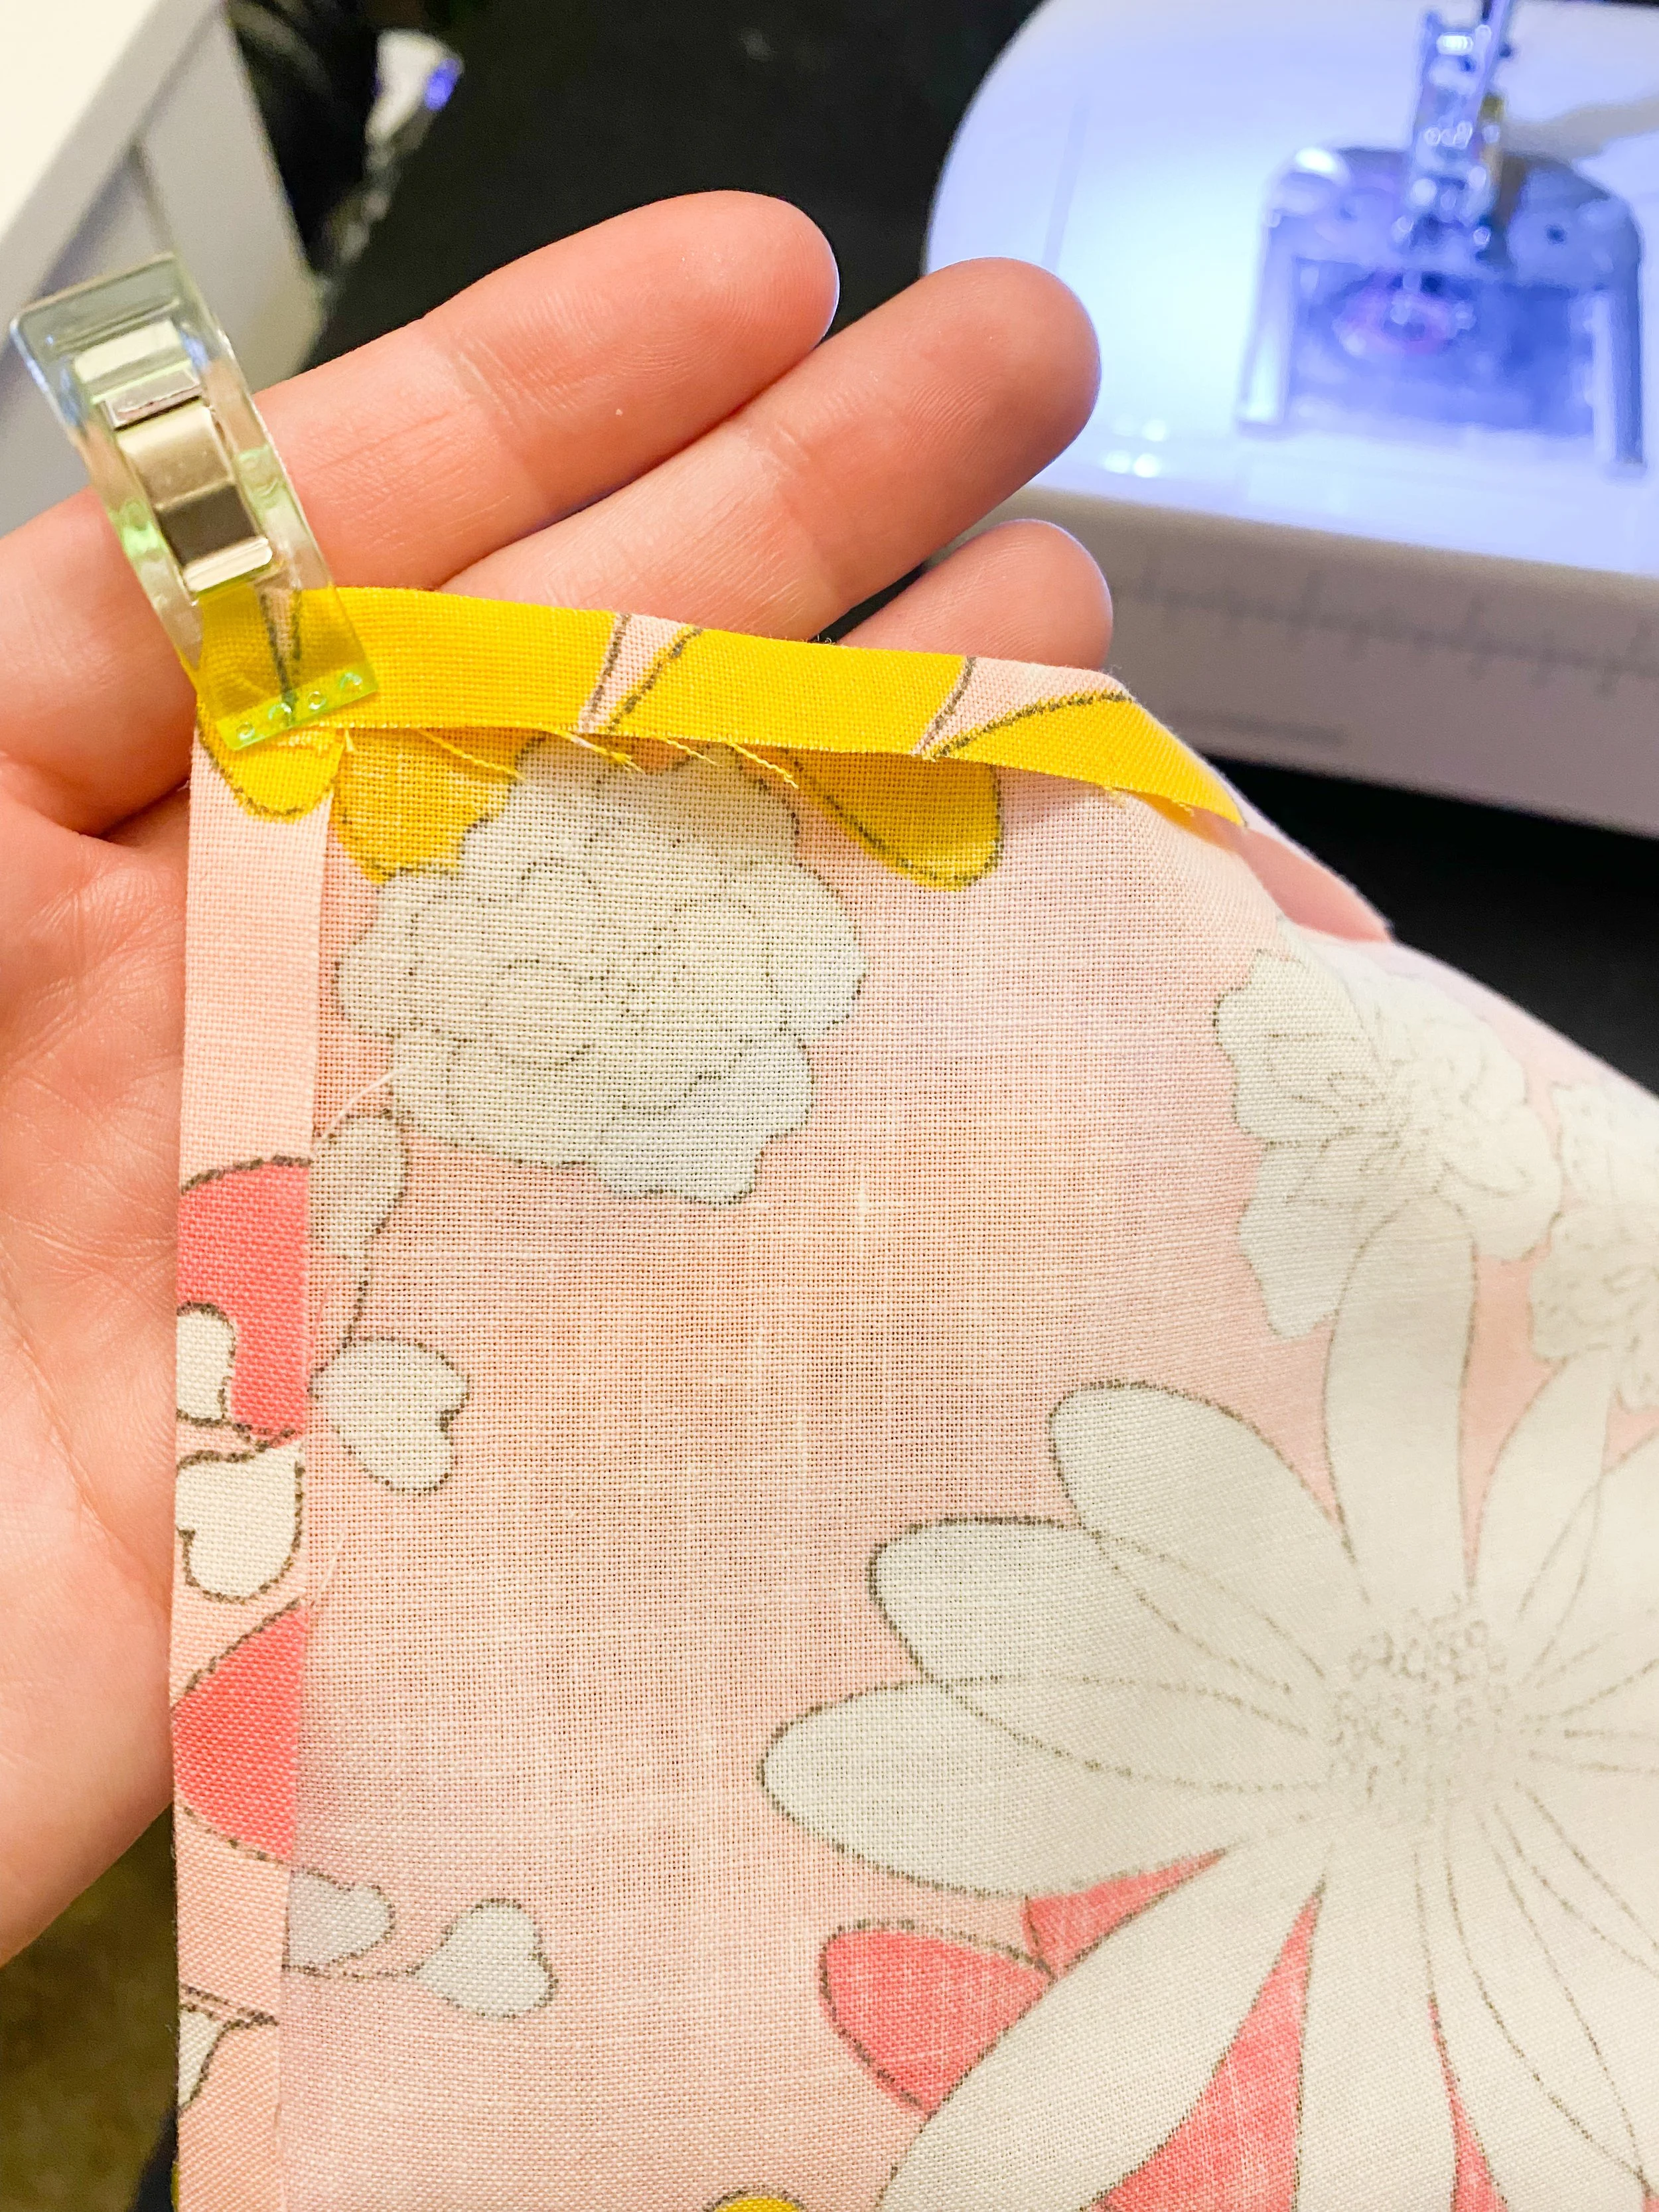
Once the fabric is cut out fold over the raw edge 1/2 an inch, wrong side together and iron all four sides.
Pin on the Pom Poms
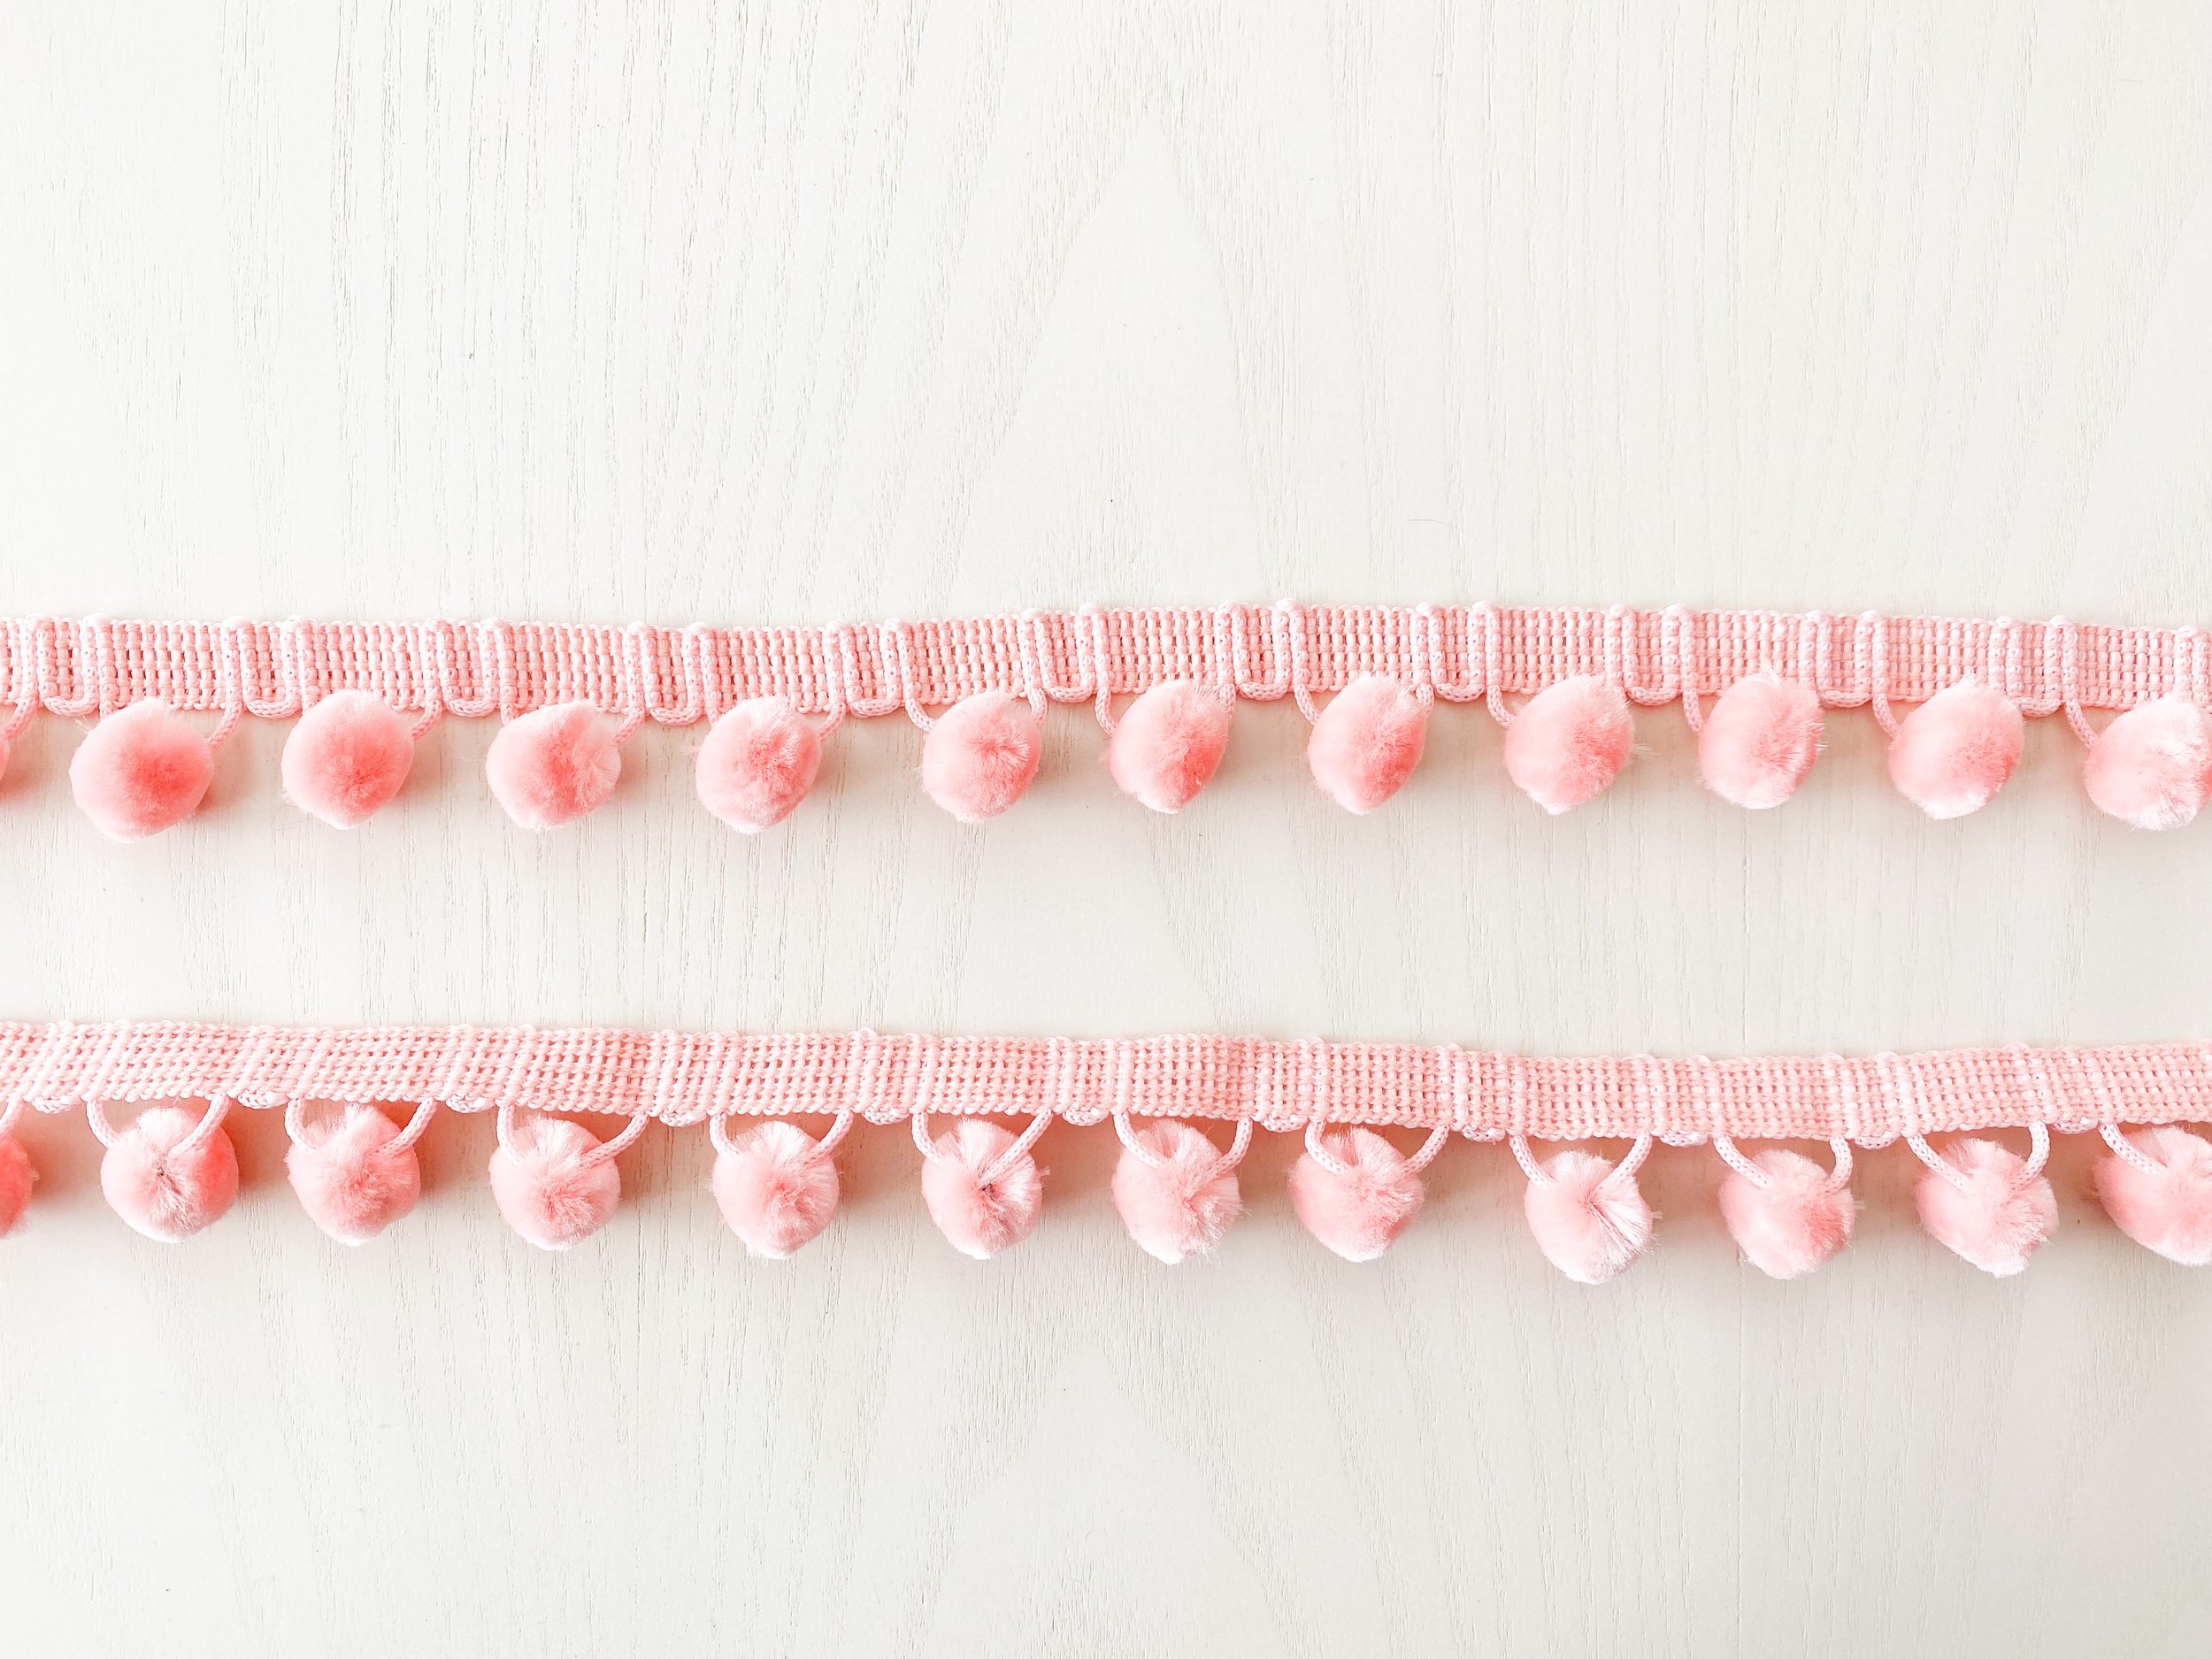
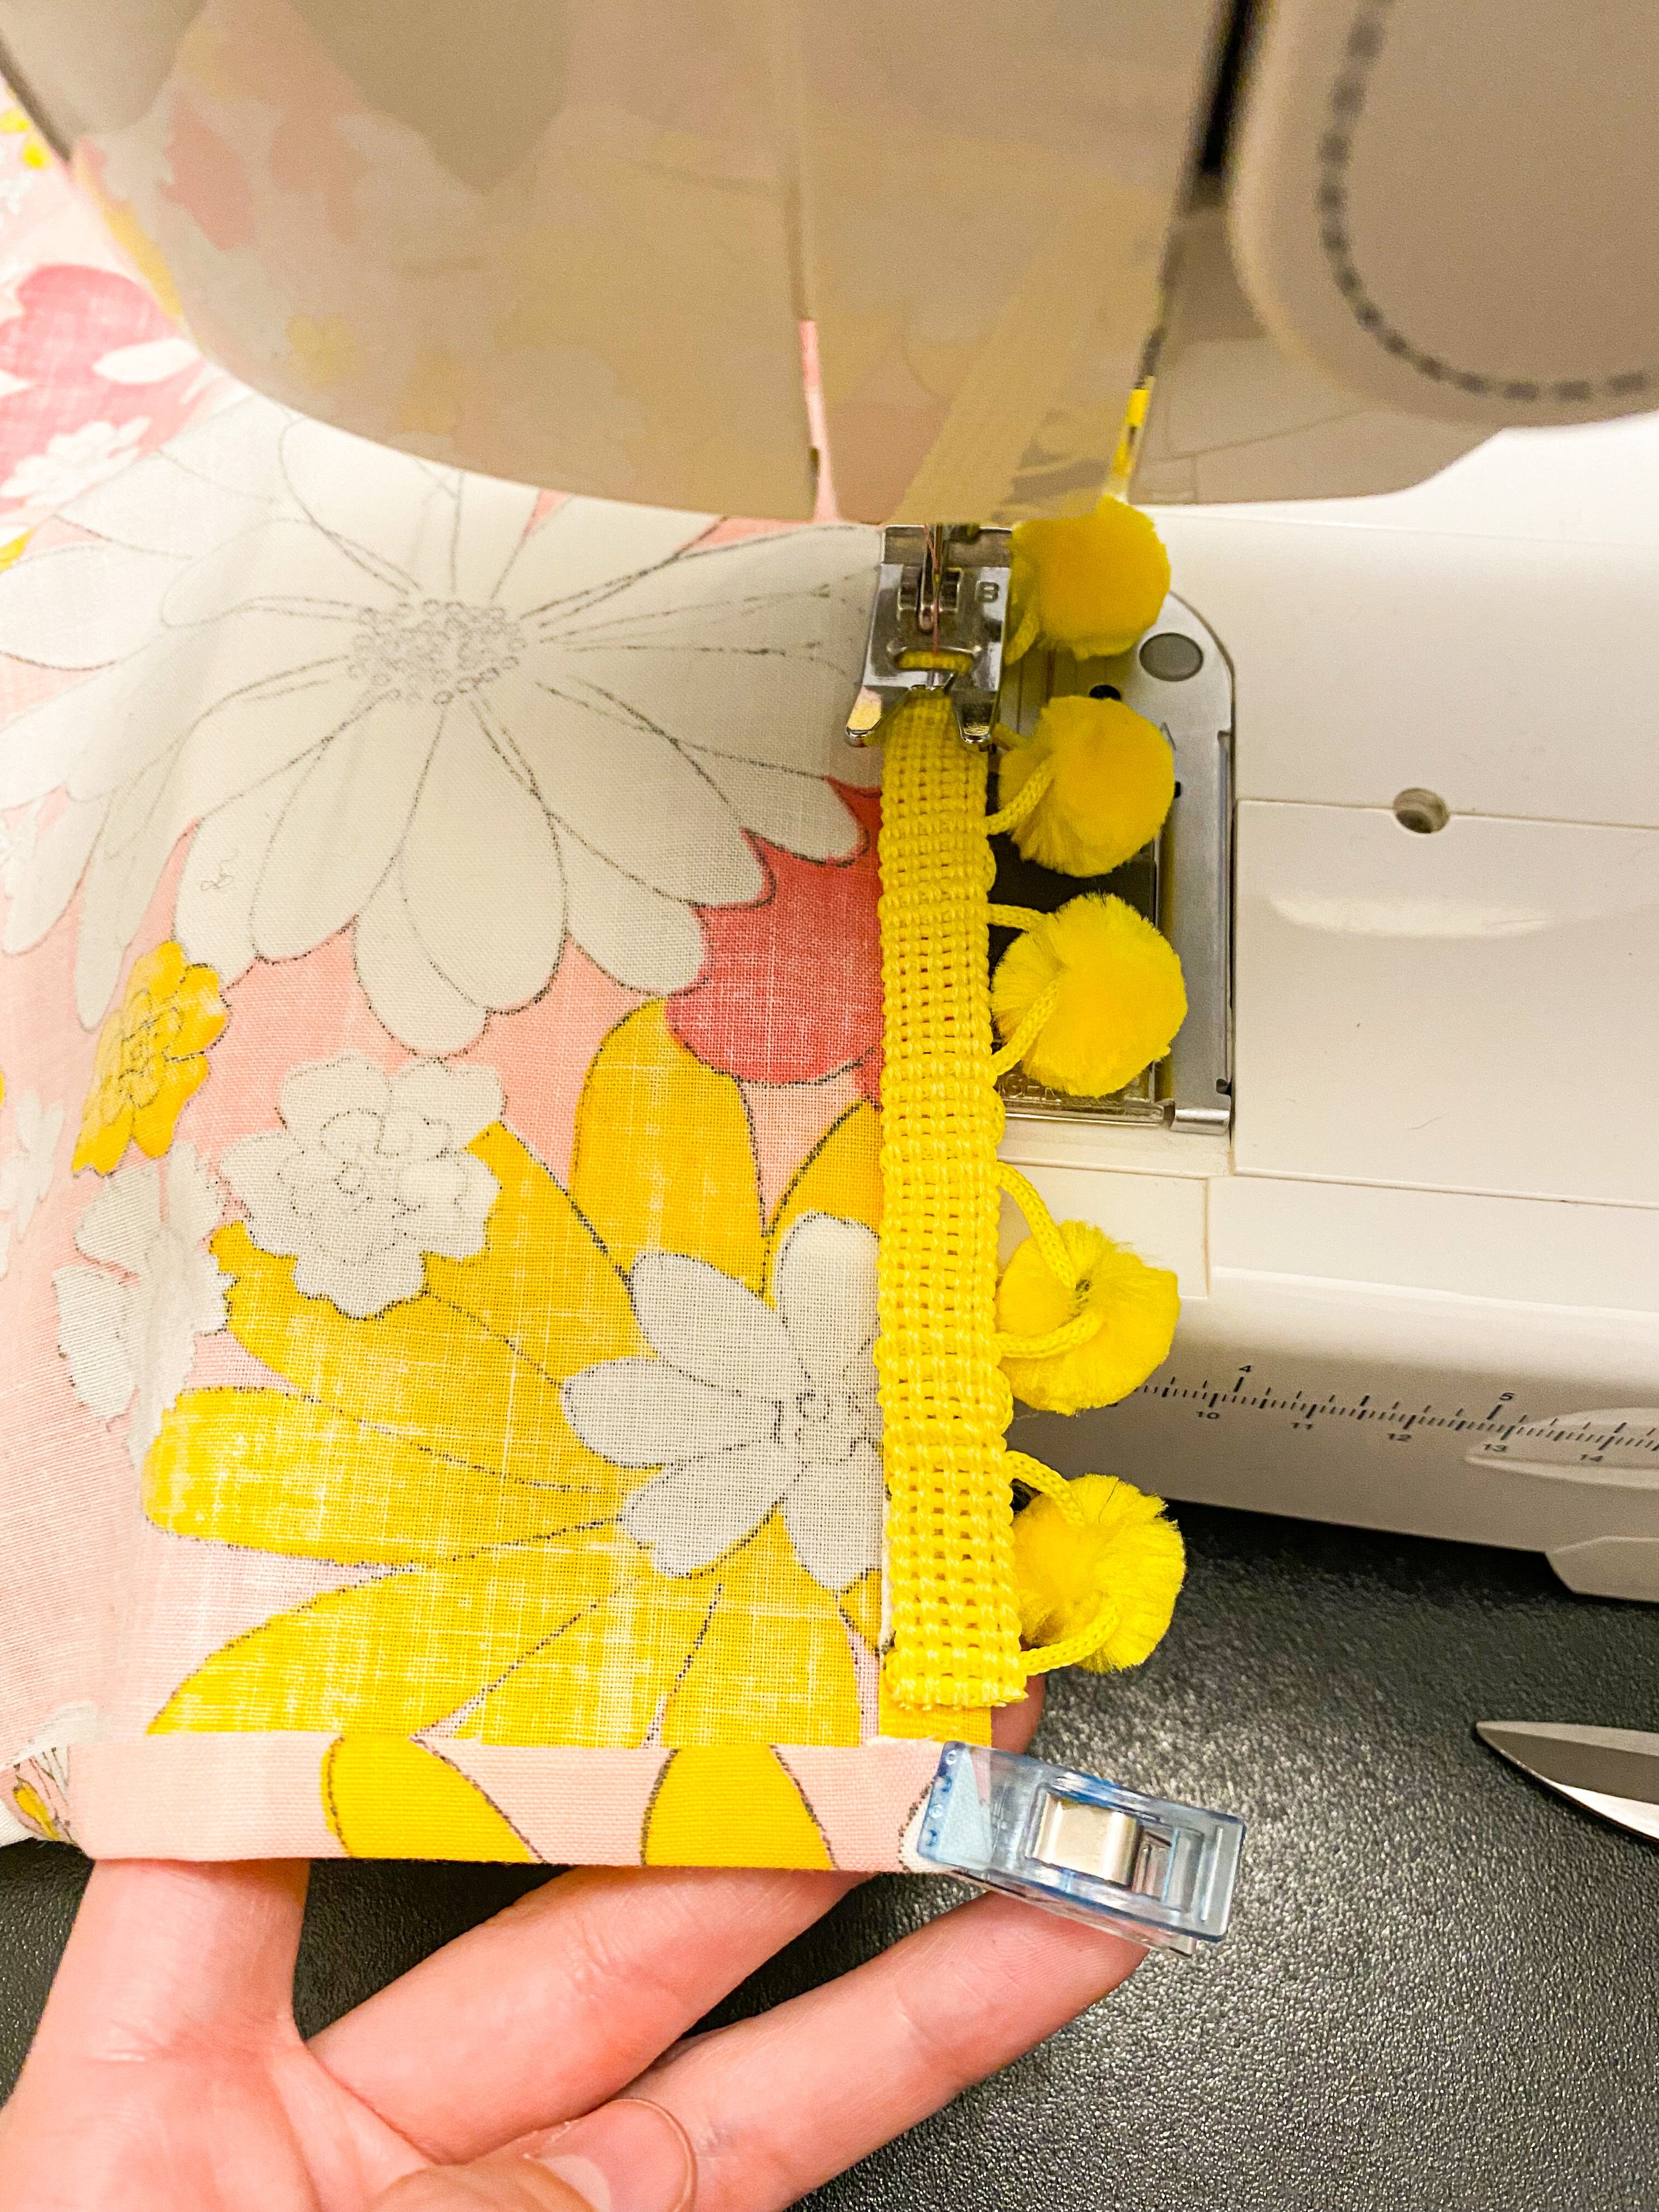
Take your pom pom trim and pin it along the hem to enclose the raw edge. Be sure to pay attention to if there’s a right and wrong side of your pom poms and have the right side facing down while you are pinning. That way the correct side of the pom pom trim will be facing up once the project is finished. On the photo above the top one is the right side and the bottom one is the wrong side.
When you finish one side cut the end of the trim. Then start a new side until all four sides have pom pom trim attached. Before sewing, flip your fabric to the right side and make sure it looks right. That all four sides of your pom pom trim are facing the same way from the front.
Sew the Table Runner
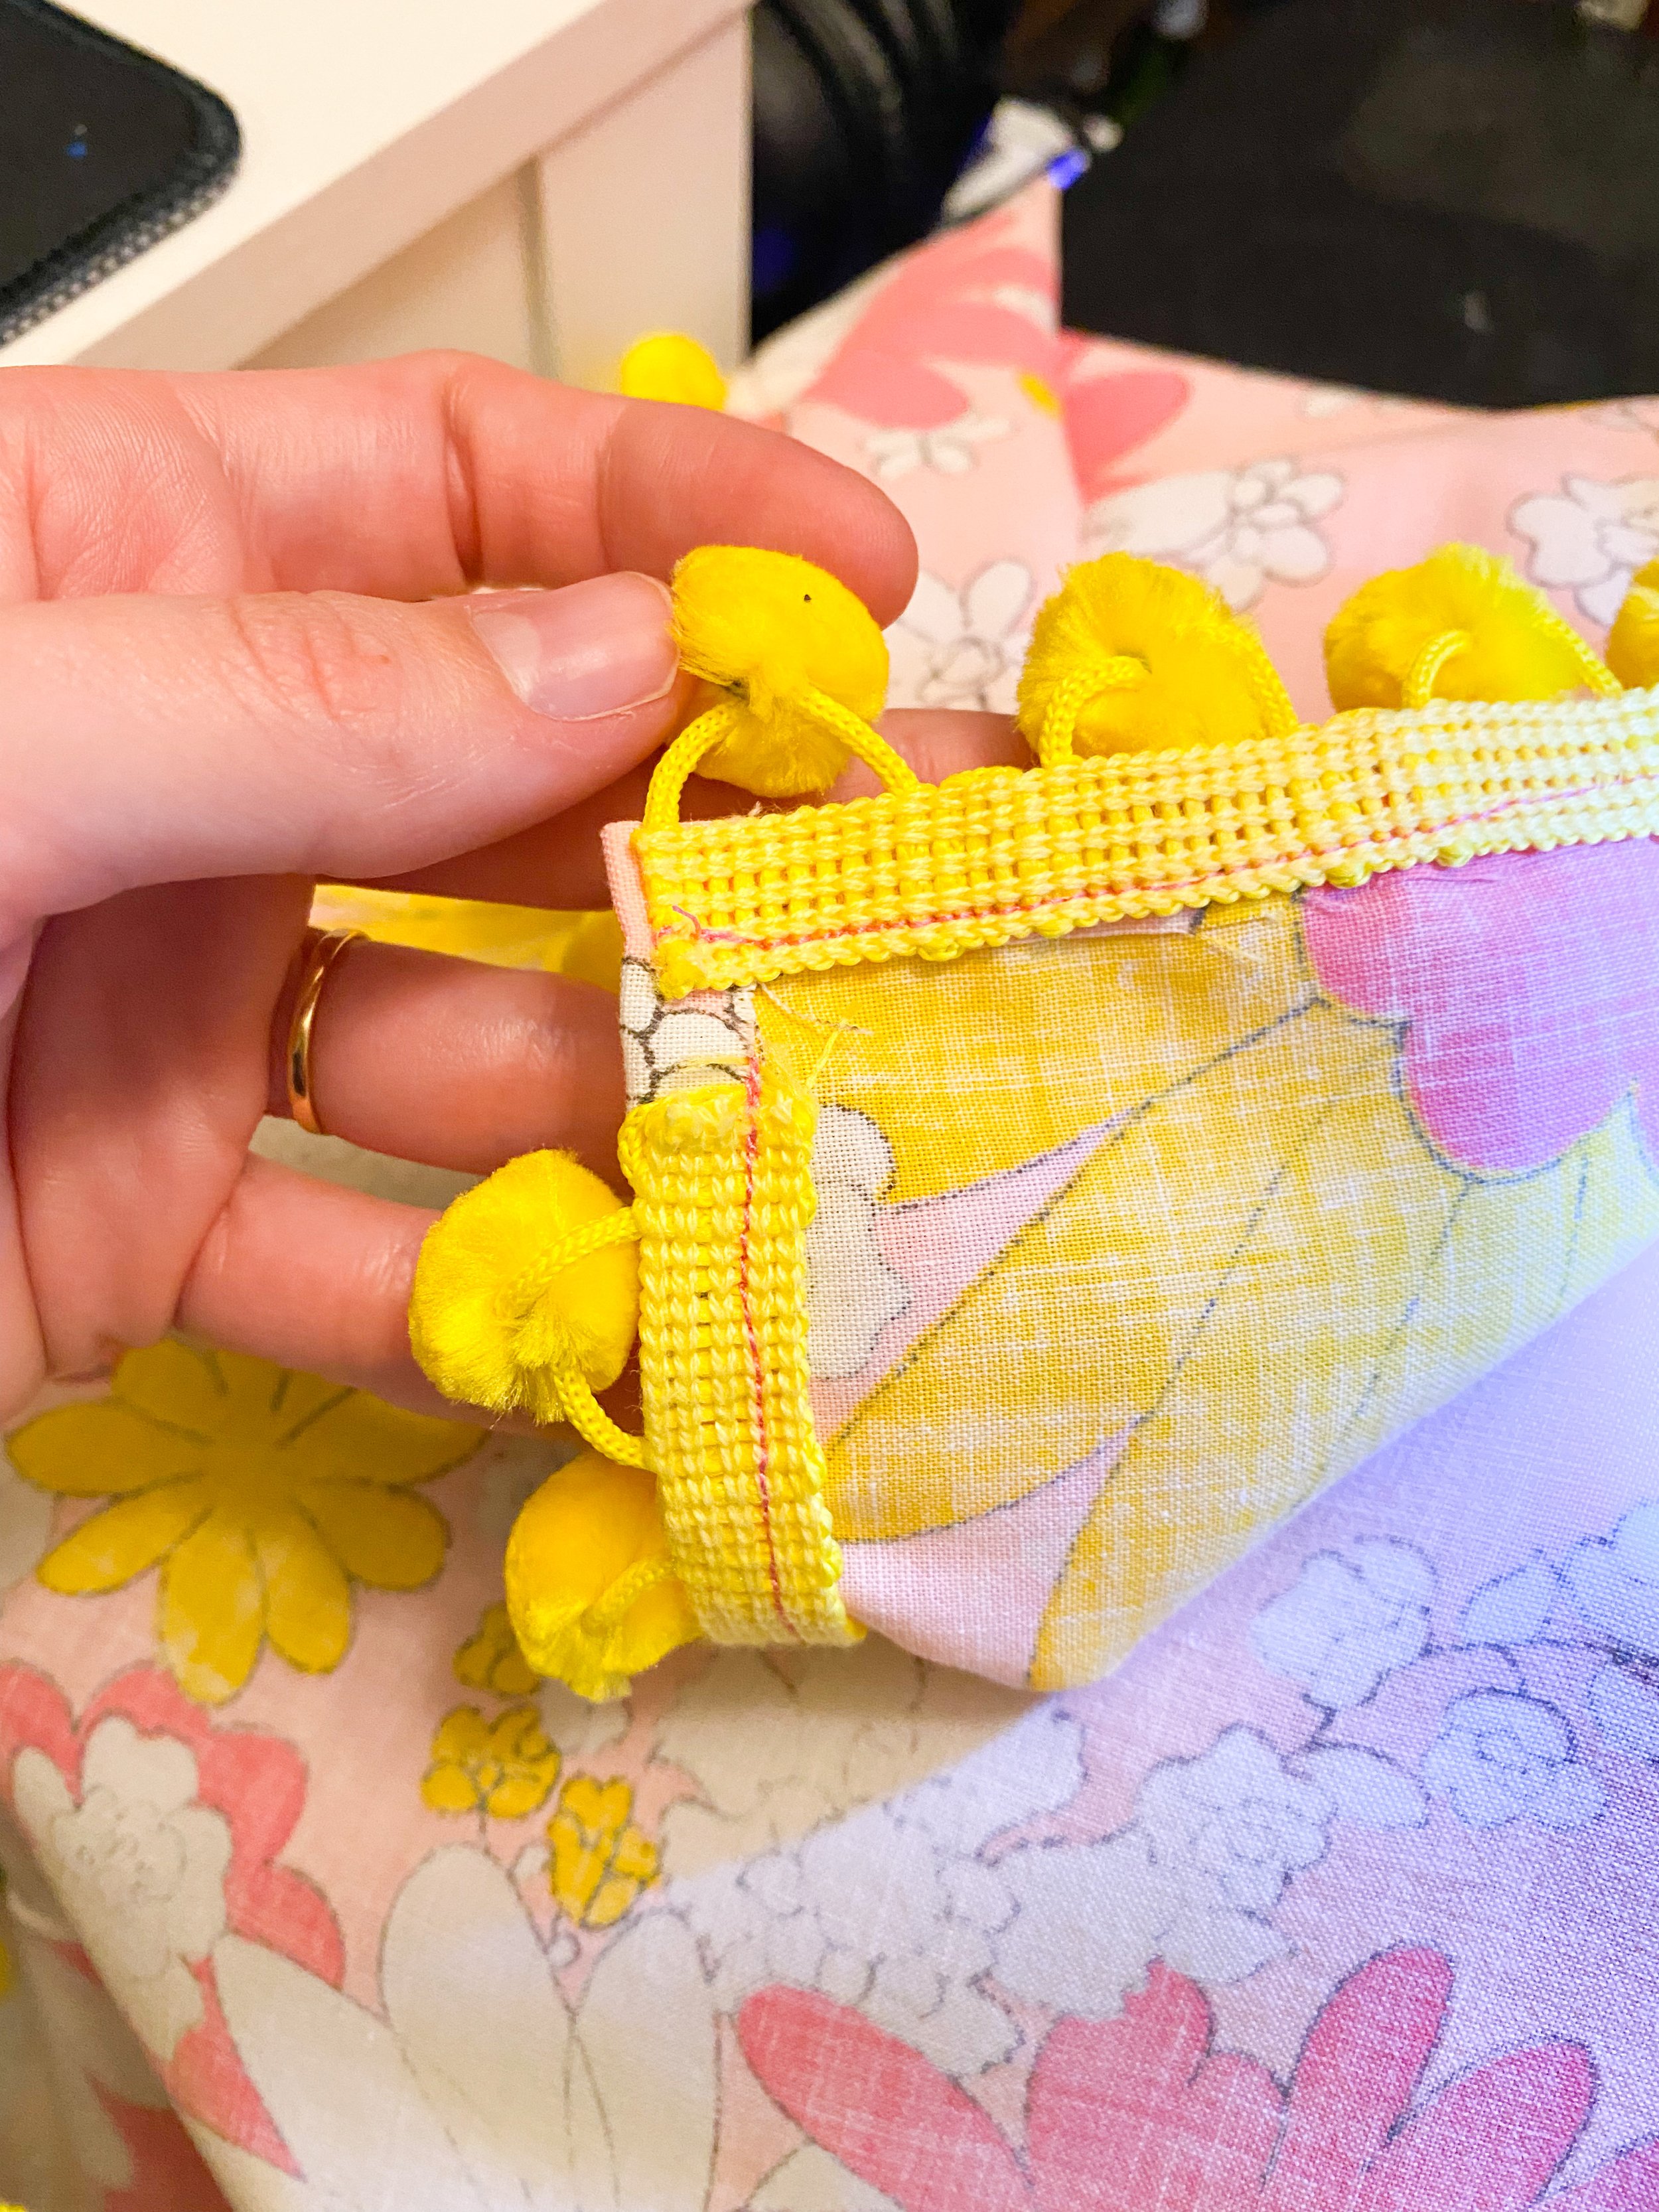
Using a regular straight stitch, sew your pom poms in place. You are hemming the fabric and attaching the pom poms at the same time! Go slow and take your time. When you get to an end of the pom poms I tried to fold the edge of the trim over a bit to enclose that end so it wouldn’t fray.
Be sure to back stitch at the beginning and end of every side.
You completed your table runner! I love this project because you can make different runners for every season. I definitely see a vintage Christmas fabric runner in my future. For more vintage sheet ideas check out my blog post on 15 Ways to Upcycle, Repurpose and Use Vintage Sheets.


