Vintage Kitchen Tour With Painted White Cabinets Before & After $1,000 Makeover
This post may contain affiliate links where I earn a small commission at no additional cost to you. If you purchase anything through the linked website you will be supporting my small blog. Thanks!
It’s time to reveal my vintage kitchen tour! I have an old home built in the 1960s and the kitchen hadn’t been changed at all since then. It was quite dark so I painted the wood cabinets white. It was very budget friendly and a cheap way to make over the whole kitchen. I’m excited to show you the before and after photos of our $1,000 makeover!
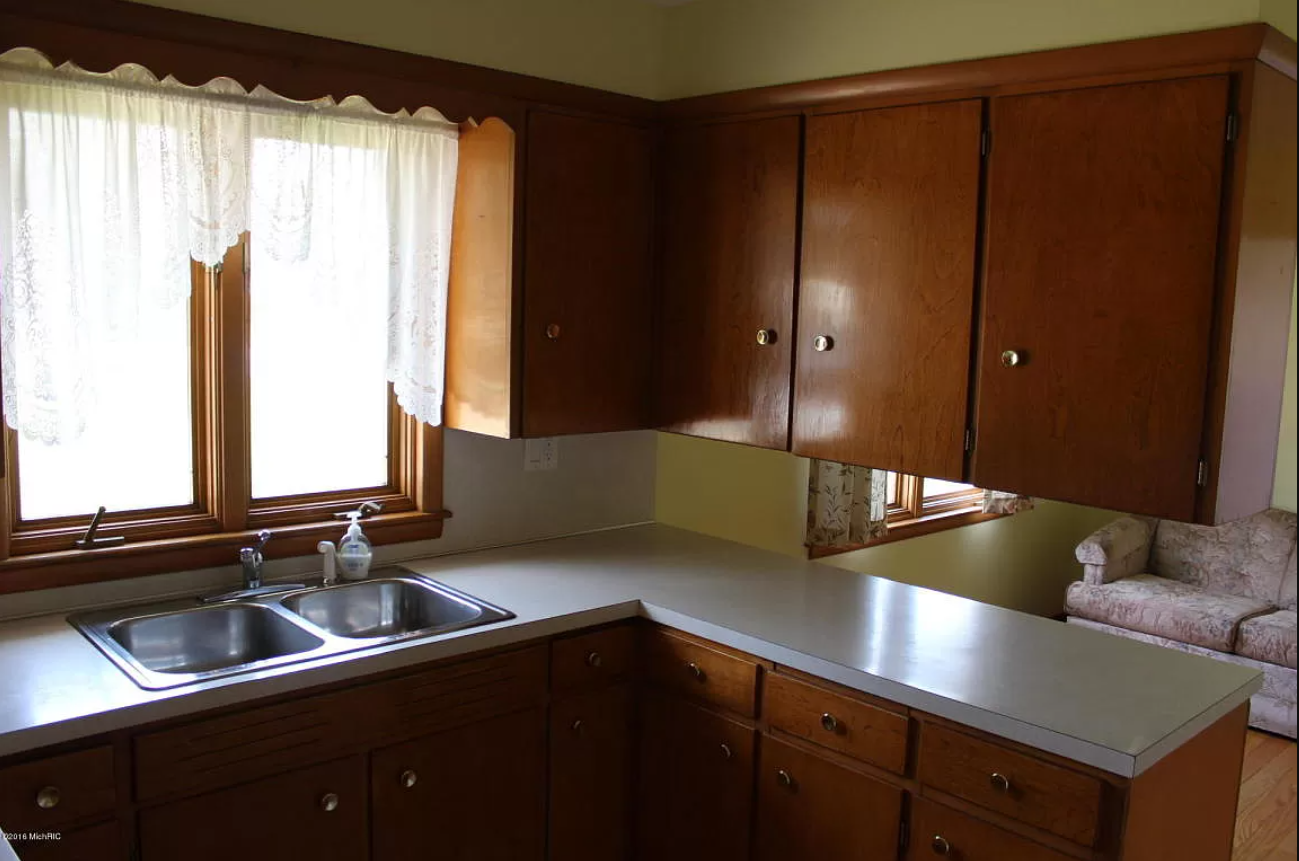
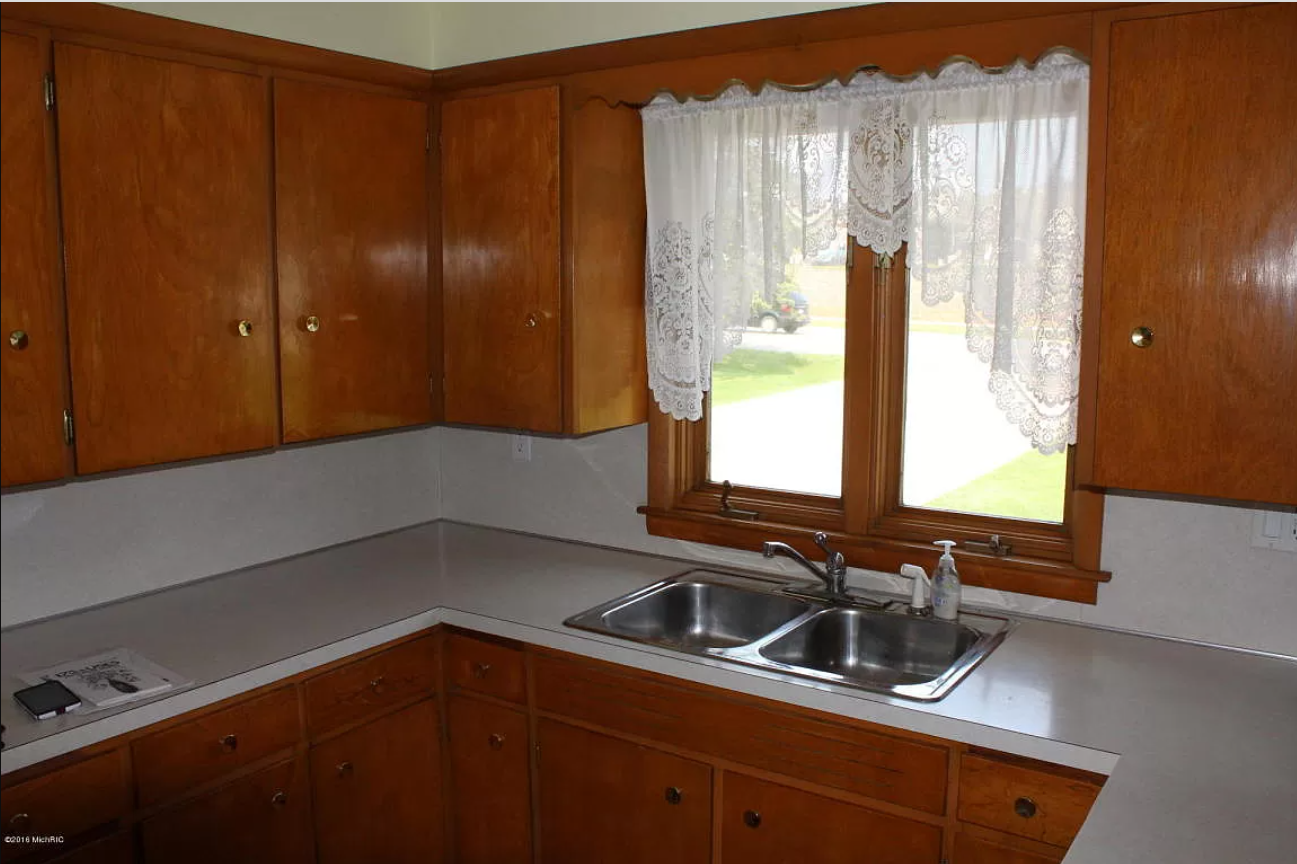
My 1960s kitchen before photos
The kitchen was SO dark with all the sun being swallowed up by the dark cabinets. We kept it this way for a year because we focused on a bathroom remodel instead.
Adding a dishwasher into our old kitchen cabinets
There was no dishwasher which needed to be fixed. We had new plumbing done in the bathroom so we had the plumbers put in a dishwasher at the same time. It didn’t fit exactly in the cabinets so they made a slim little cupboard next to the dishwasher to hold my cookie sheets!
After painting the cabinets white
The kitchen was SO much brighter now that we painted the cabinets! But it also needed some much needed color now. Check out my blog post on Easy Ways to Create a Colorful Vintage Interior.
We took the cabinet doors off of the two cabinets next to the window to have open shelving. It’s a great way to display my vintage Blendo glassware collection.
Blendo glassware is very collectible and is on my list of Valuable Vintage Items to Sell and Collect.
Rainbow Potholder Display
Once I painted everything white it was VERY white, so I needed to add color! Above the cabinets I hung my vintage rainbow potholder display. I wrote a how to blog post if you’d like to try it out for yourself.
Adding colorful vintage decorations
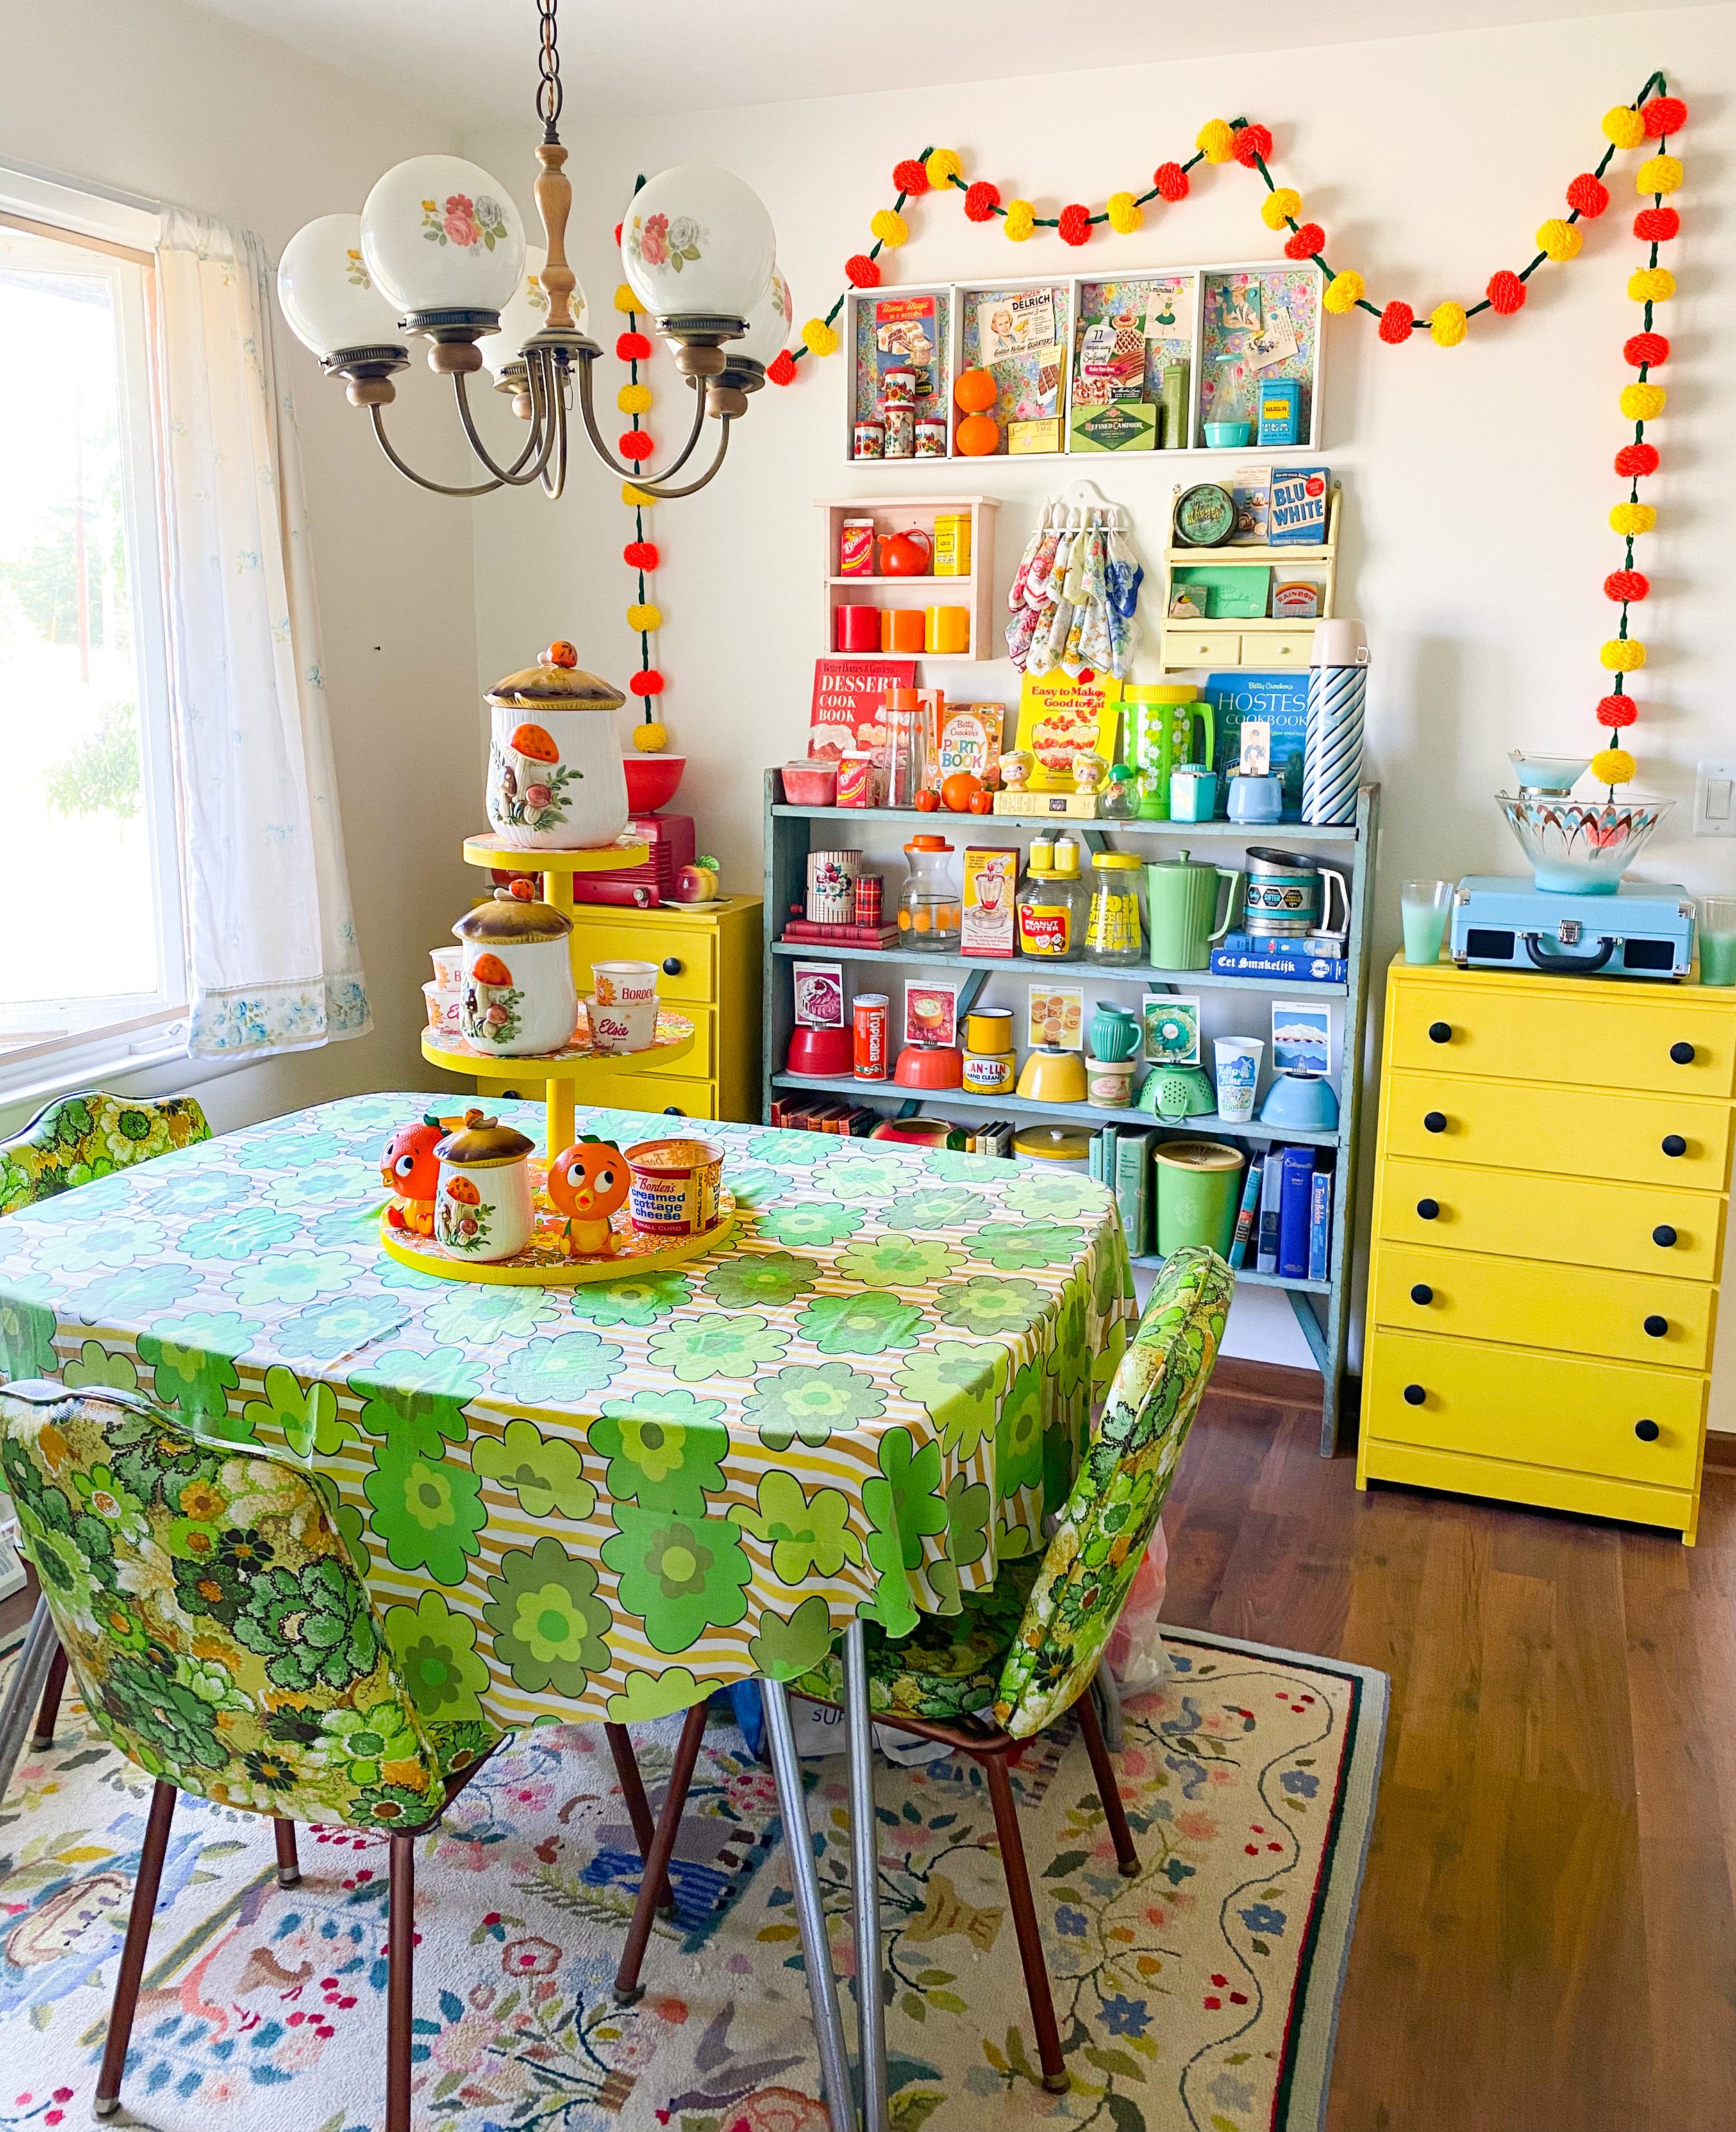
Of course adding retro decor helps a lot with adding color too! I love using vintage tupperware jello molds as stands on kitchen counters.
Vintage cookbooks and Jadeite are always a good idea. I also love finding vintage packaging boxes because they have great typography and illustrations.
Adding a stand alone cabinet to our kitchen
I don’t have a before photo of the other wall of the kitchen so you’ll need to use your imagination. The fridge used to be RIGHT next to the stove. There was no place to put a plate or mixing spoon next to the stove. So we decided to add a stand alone cabinet.
We bought a single kitchen cabinet
We went to our local Habitat for Humanity ReStore and found a single cabinet that was the same height as our existing cabinets. We were going to replace the countertops so the countertop on it didn’t matter. The cabinet door did not match what we already had so I sewed a curtain out of a vintage sheet.
We painted the cabinet
The cabinet originally was wood. When we painted our entire kitchen we painted the new stand alone cabinet at the same time. So it looks like it’s been there all this time!
Adding a cookbook shelf
Once we added the cabinet there was an awkward space where the fridge used to be. I decided that it would be the easiest to make a little cookbook shelf! My Dad came over and screwed in two pieces of wood to create the shelf. Again, we painted the shelf at the same time as all our kitchen cabinets so it looked like it was always there.
It became the perfect place to put my microwave and vintage canister set.
We replaced the flooring
There were two different types of flooring in the kitchen and dining room so we ripped it all out. We bought new in the box flooring at the Habitat for Humanity Restore because it was really cheap and the color is great. We’ve had it for five years now and have had absolutely no problems with it!
The vintage glass cabinet
On the other side of my kitchen, facing the dining room, is a single glass cabinet. I loved this special detail in the house when we first walked in the house. I couldn’t wait to put my decorations inside!
Thrifted kitchen cabinet knobs
We also bought all 26 of our kitchen cabinet knobs at the Habitat for Humanity ReStore. They had the EXACT number we needed and they were obviously vintage and came from an old house. I bought the few drawer pulls brand new from Hobby Lobby. The original hinges matched close enough to the “new” hardware so we kept them as is.
Replacing our countertops
We paid a local company (Carpet Bonanza) to come in the house and replace our kitchen countertop, bathroom countertop and our bathroom flooring all at the same time. We used formica, nothing fancy. It’s been installed for five years and we’ve had no issues, we love it!
We added beadboard backsplash and painted it white. We also painted all the walls in the kitchen and dining room white as well. It was a big project but so worth it! But if you’re going for an all white kitchen, don’t forget to sprinkle in some colorful decor like my vintage mushroom pot or mouse cheese dish.
It cost us around $1,000 for our kitchen makeover. We painted the cabinets ourselves and thrifted almost everything we added to the space. It was a huge project but also very inexpensive. We were very lucky to have perfectly good appliances that didn’t need to be changed. Let me know if you have any questions!
If you’d like to learn more about how I fell in love with decorating you can read my blog post about my Vintage Home Decorating Love Story.


