How to Make Custom Art with Vintage Paper Ephemera
This post may contain affiliate links where I earn a small commission at no additional cost to you. If you purchase anything through the linked website you will be supporting my small blog. Thanks!
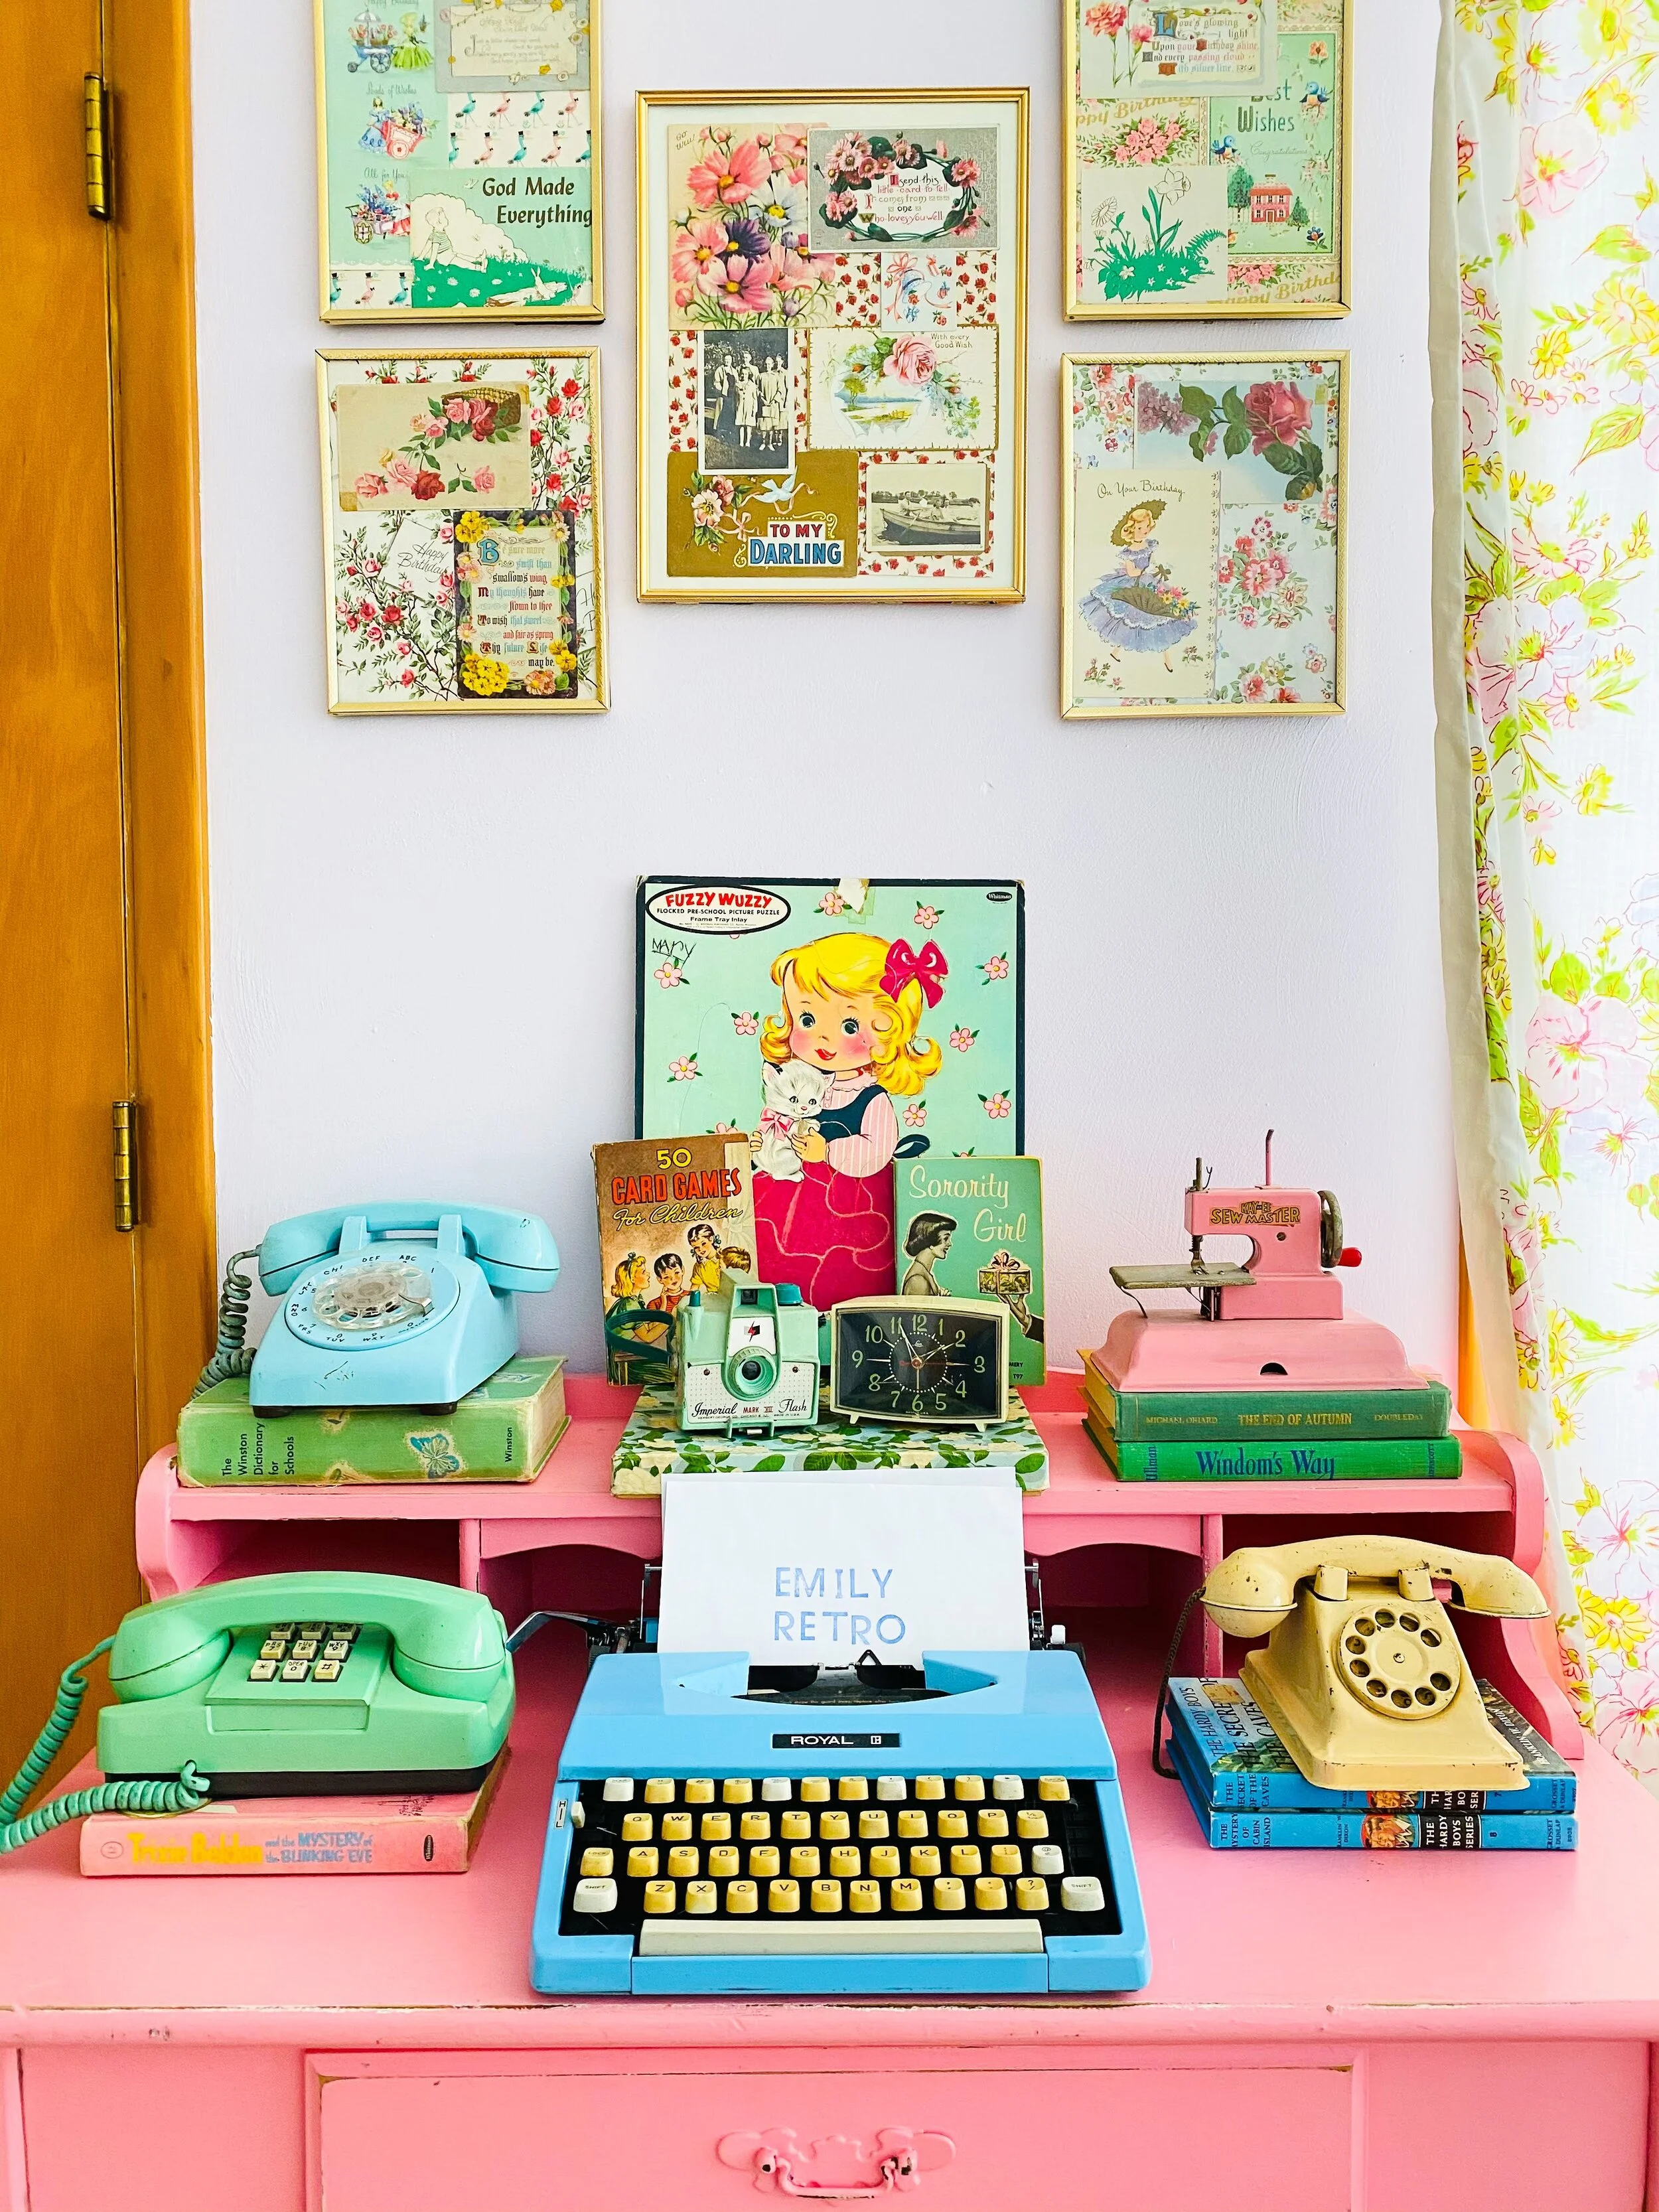
Creating custom retro art is one of my favorite ways to make my home unique. Not to mention it is VERY cheap to DIY! I’ll show you step by step how I turn vintage ephemera into beautiful pieces of framed art. You can find super cute vintage ephemera on Etsy.
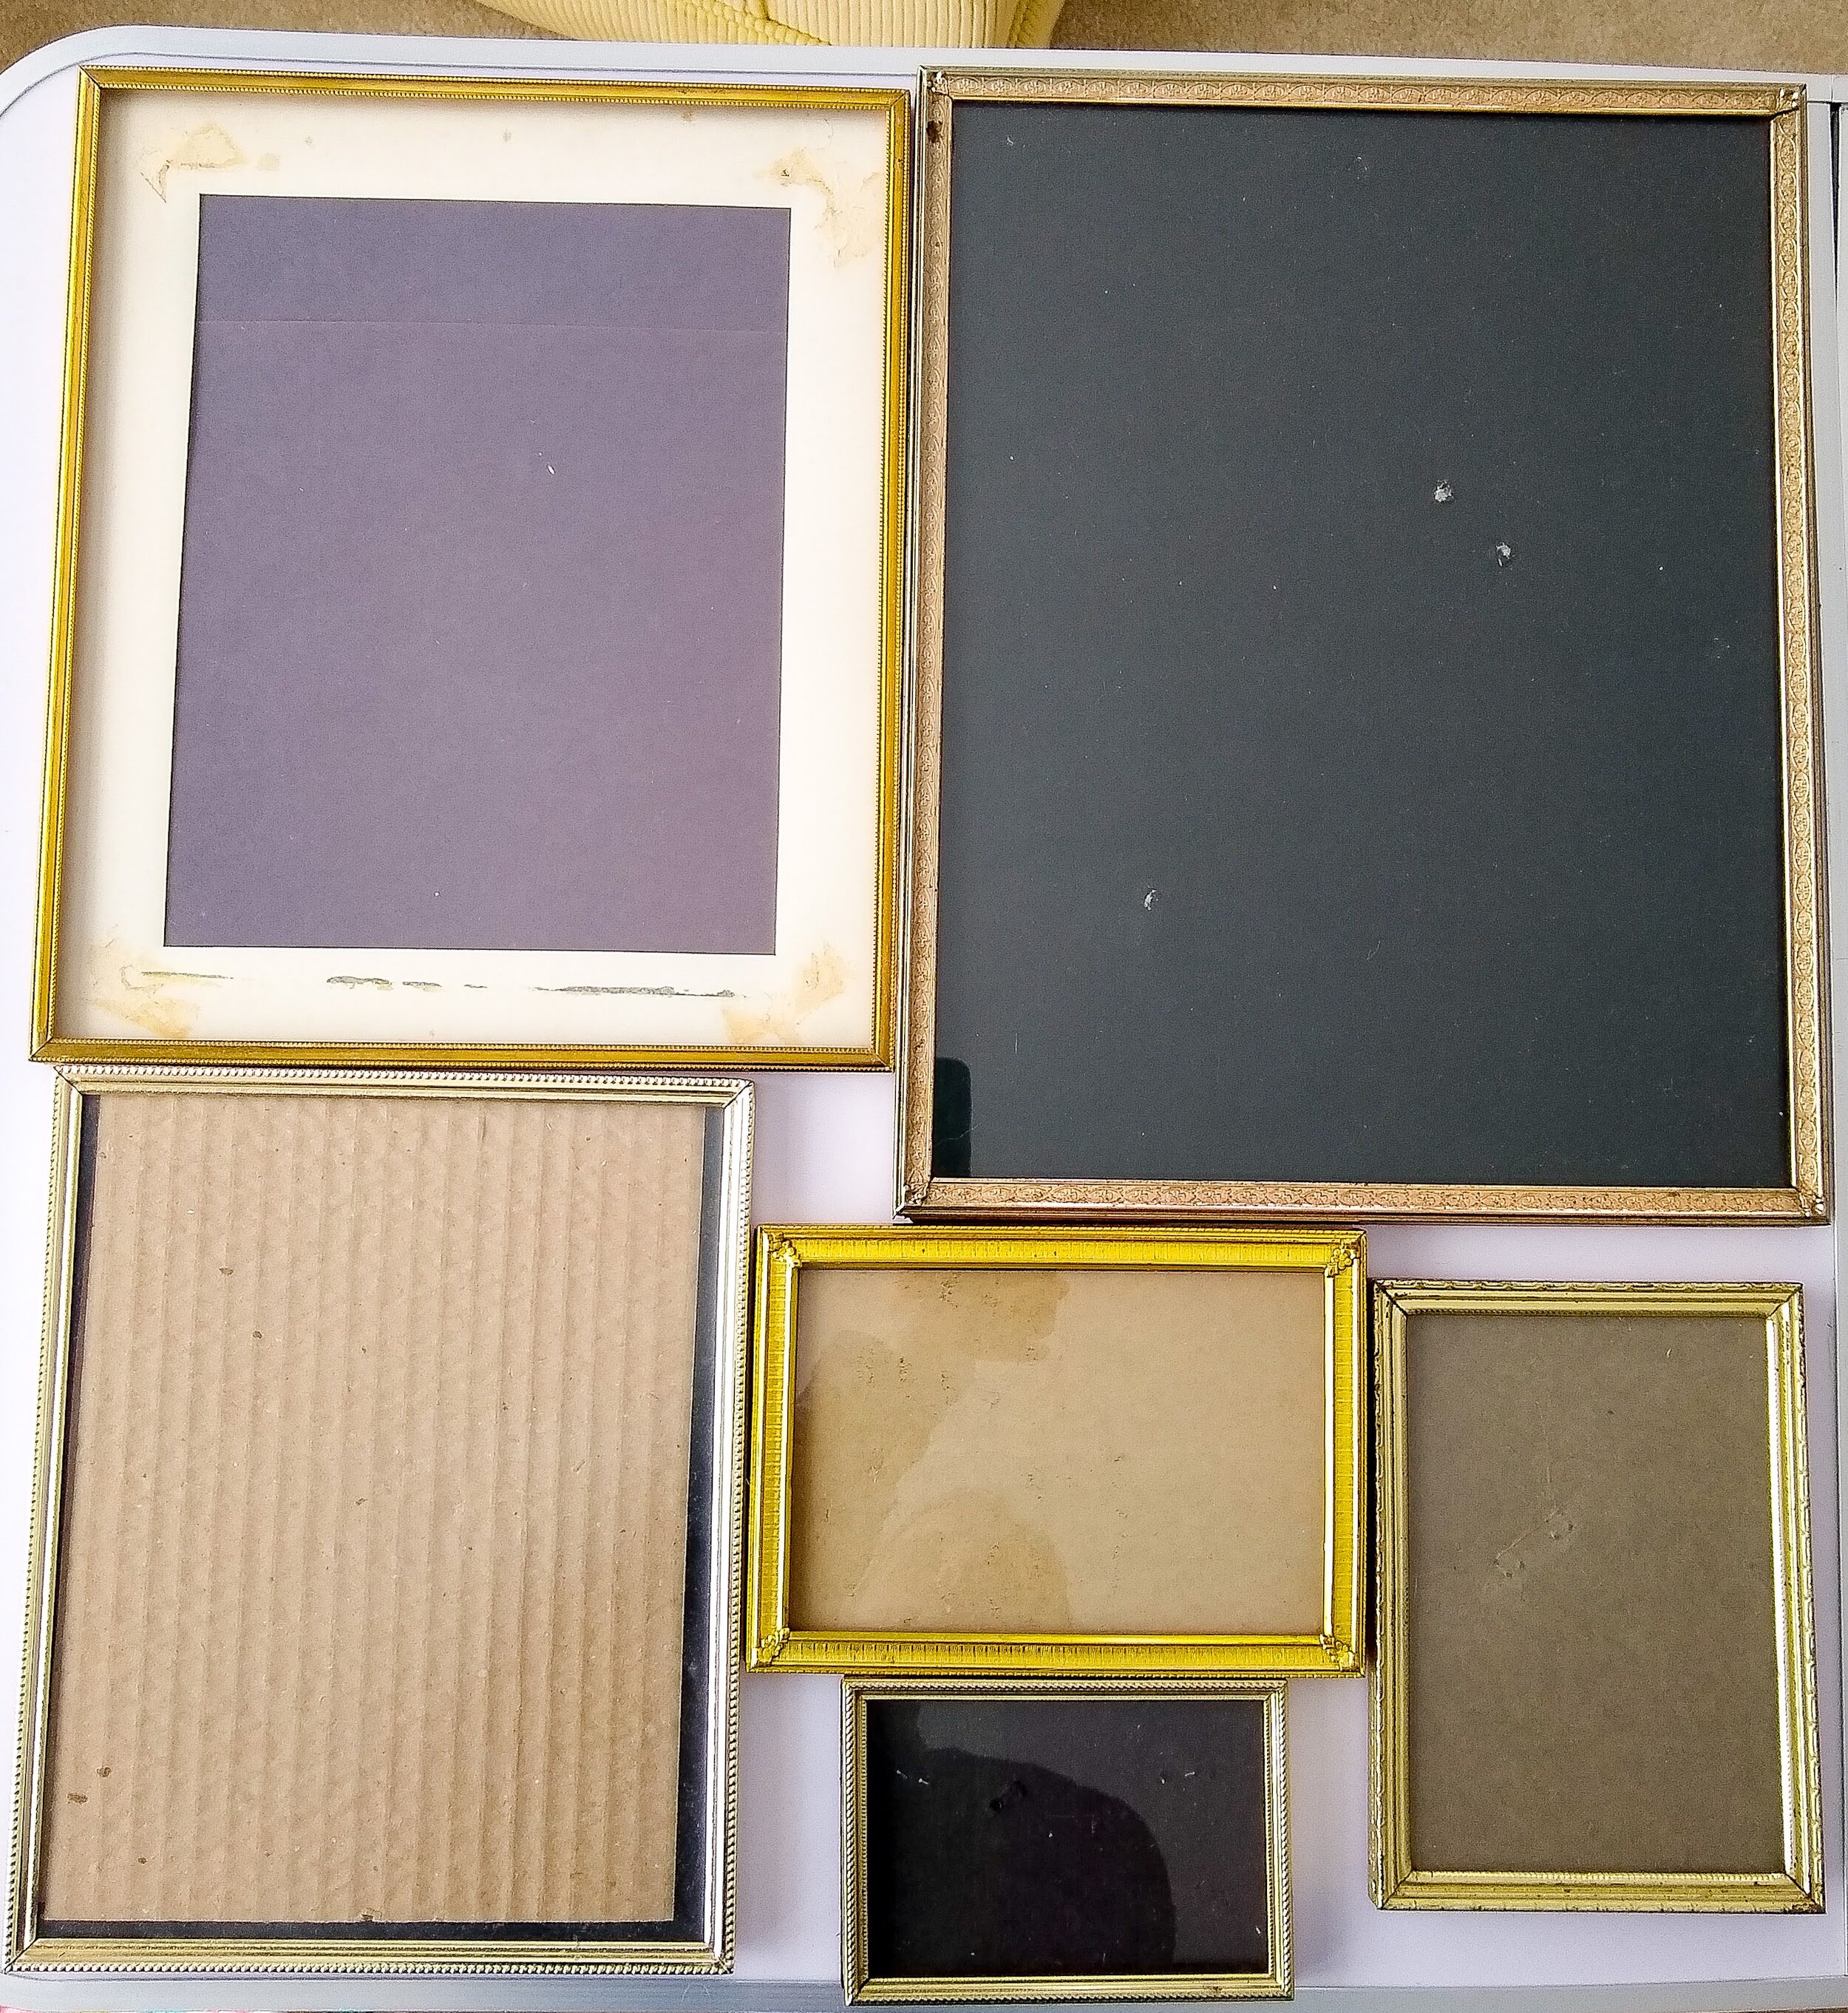
Step 1: Pick out your frames
Use whatever frame type works with your style. I love using gold and silver frames and I always pick them up at thrift stores.
Step 2: Choose the paper base for your ephemera art
Start with a paper piece to put your ephemera on. I like to use vintage or new wrapping paper, book pages, printer paper or pages from magazines that I’ll mostly just cover up.
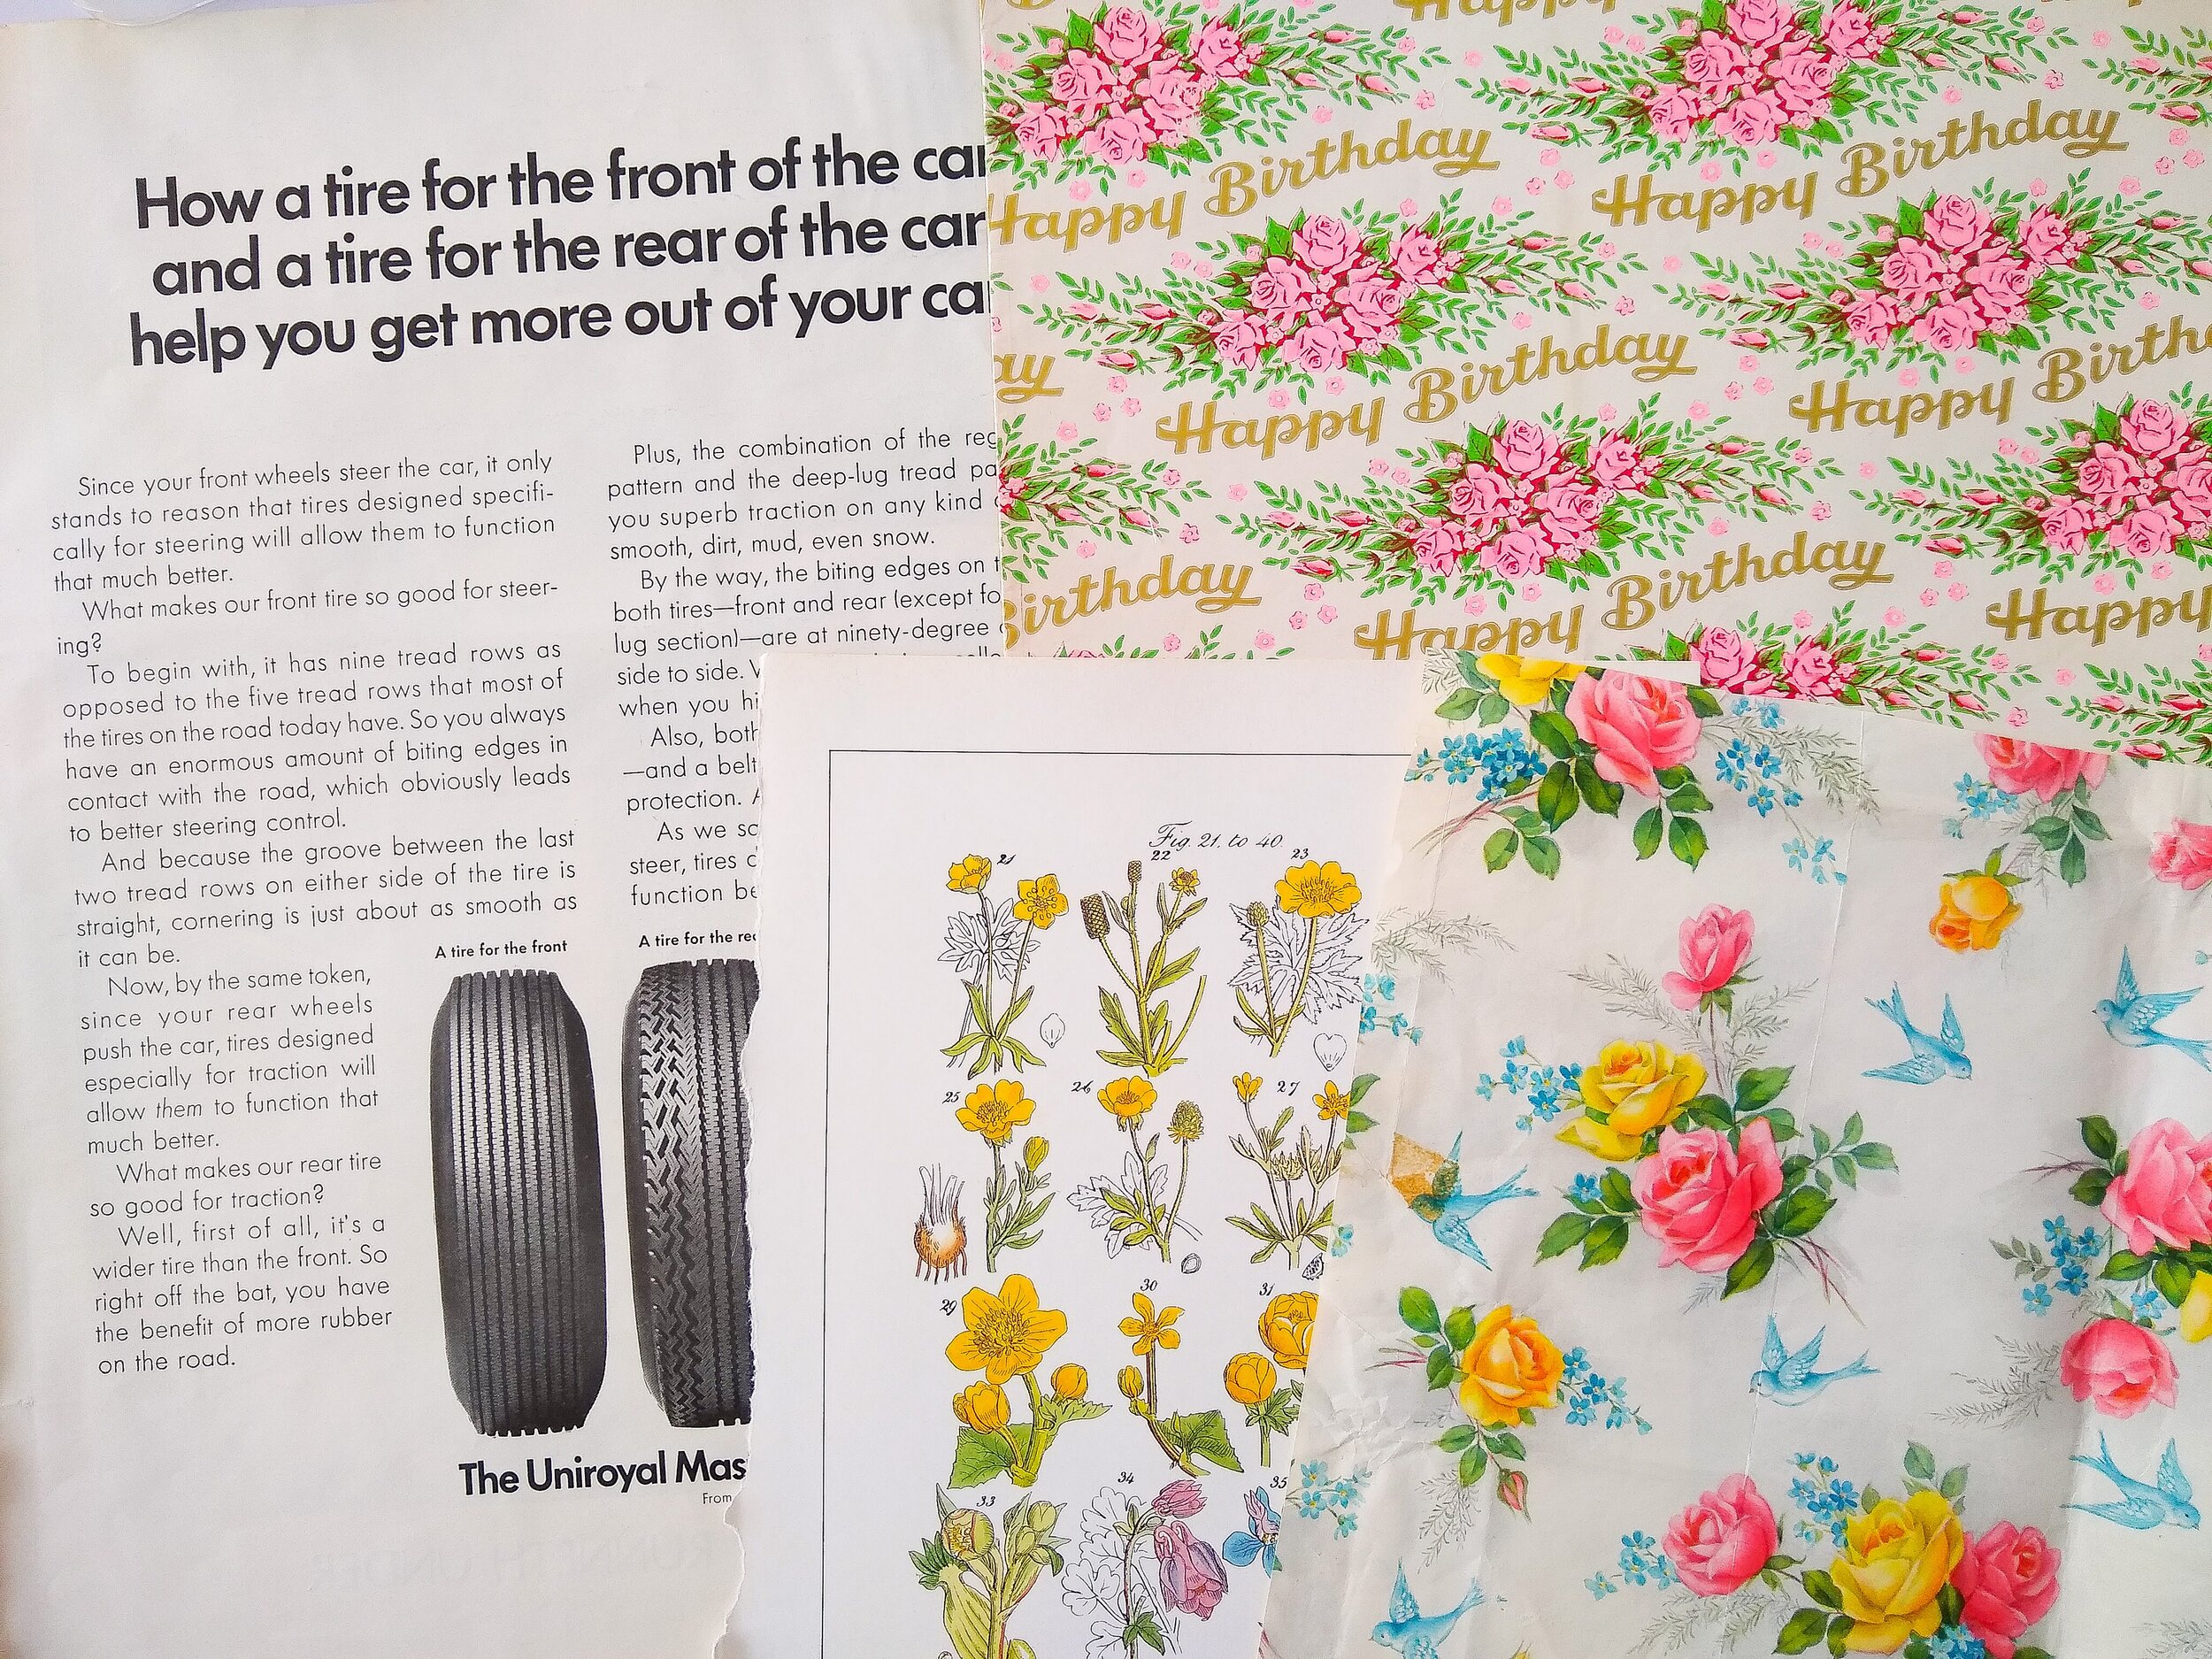
Step 3: Select your retro paper pieces
This is the best part! Grab all the ephemera that you have and start picking out what you like. You can use playing cards, advertisements, old photos, greeting cards, postcards, tickets, book pages or whatever you want! Start by choosing a general theme or color scheme. I decided to go with a flower garden theme, but I’m pretty loose with my themes. I normally just select what pieces bring me joy and go from there. Try to select paper of all different sizes so that you can create dimensions in the art. For more information on different types of ephemera and where to find it, you can check out my blog post on 10 Cheap and Common Thrift Store Items to Add Personality to Your Home.
Step 4: Layout your frame, base and ephemera
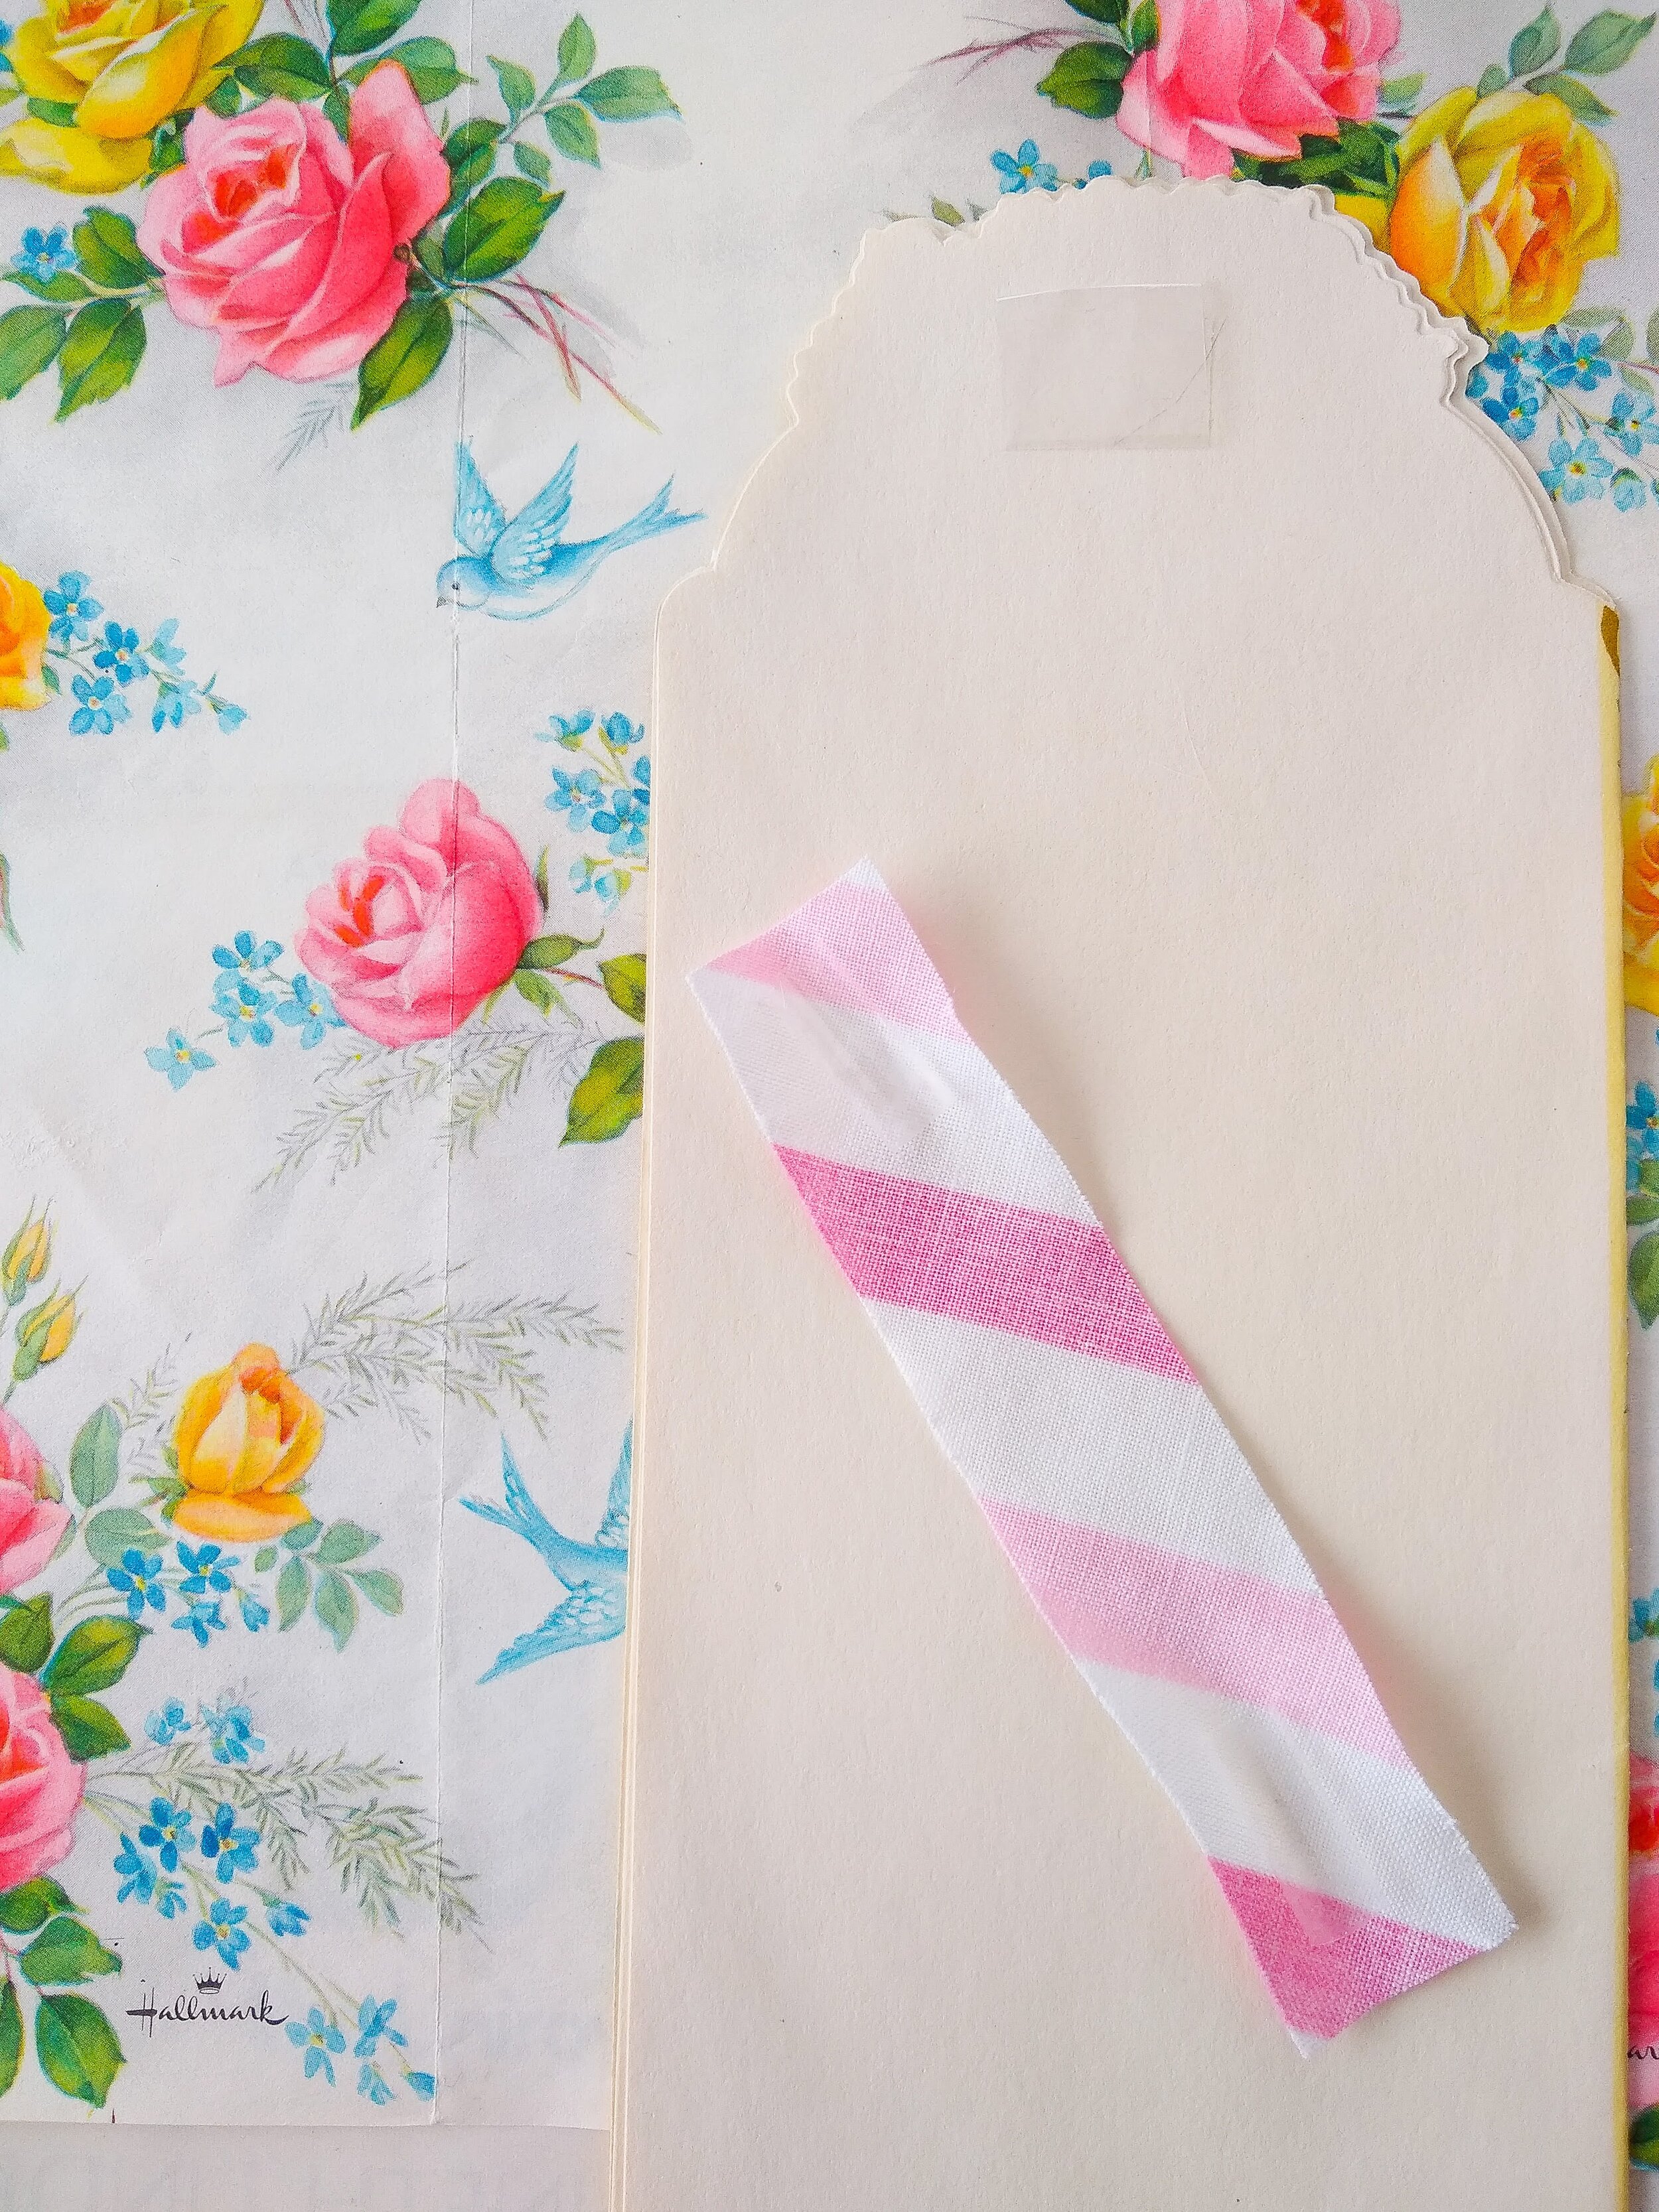
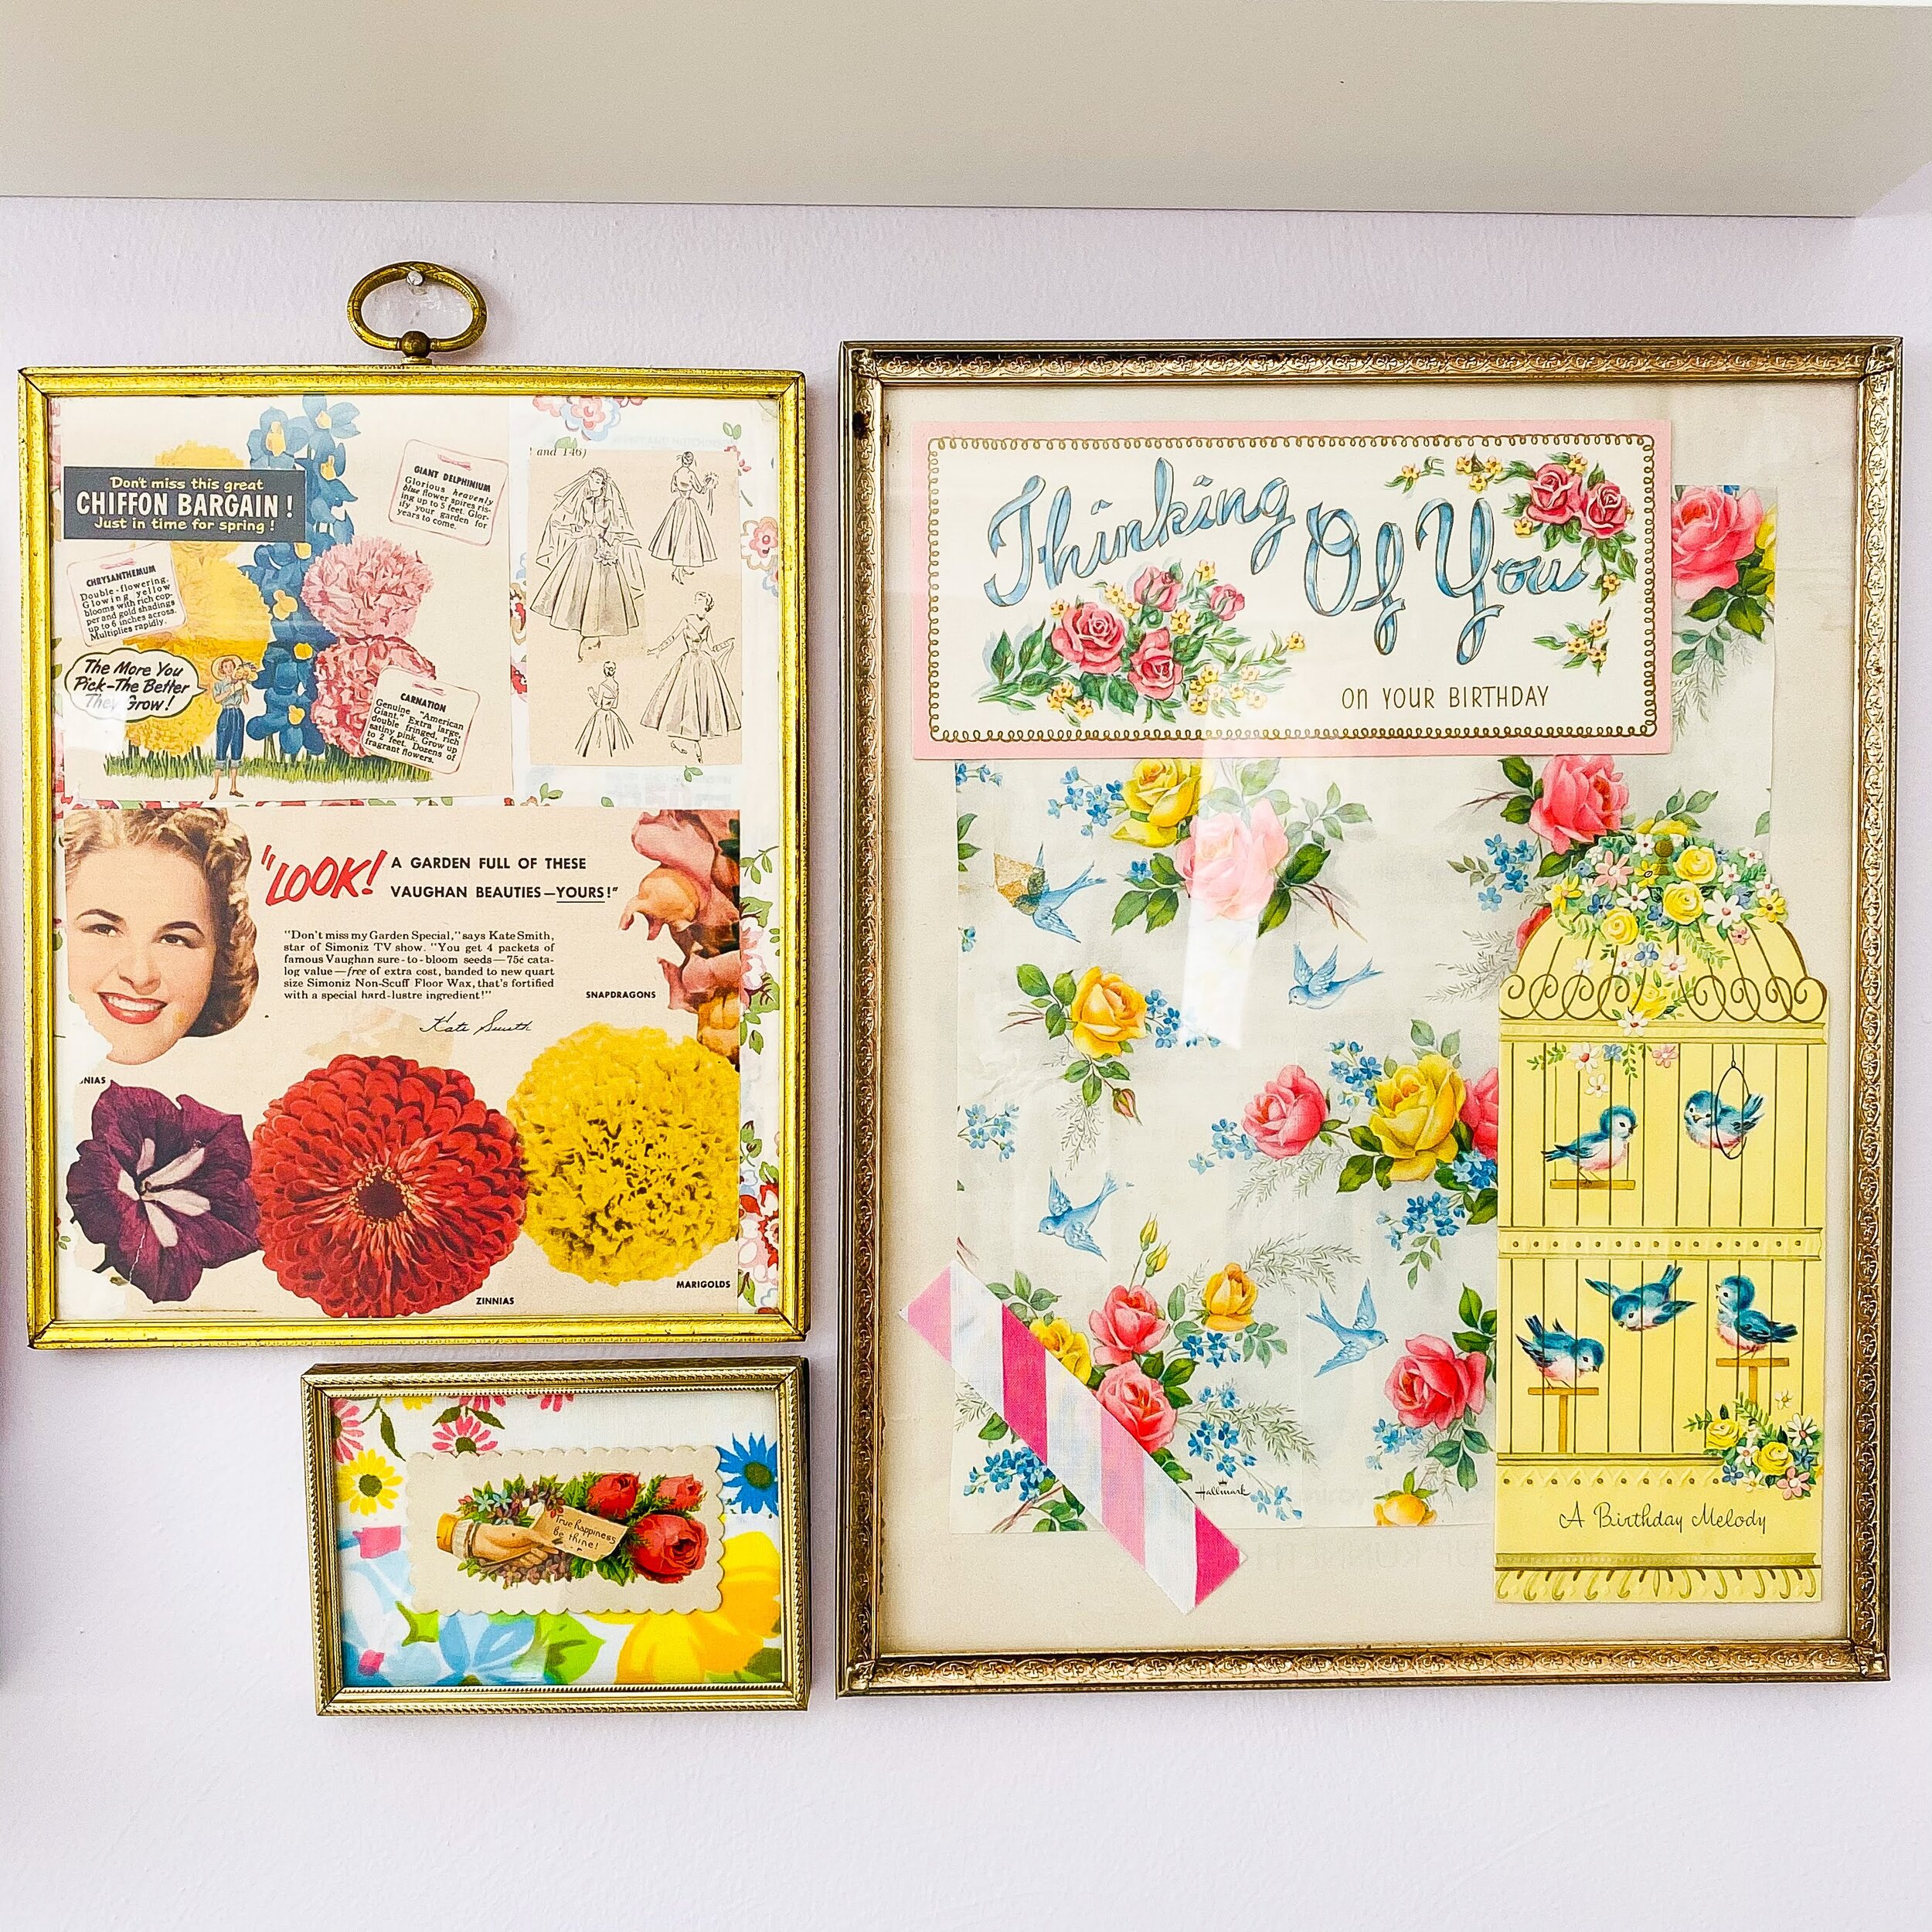
Cut out your base paper to the size of your frame. Start by laying out your idea, don’t affix anything yet. I decided to use a Life magazine page that had water damage as my base and cut that out to size. I added a piece of vintage wrapping paper on top and then layered old greeting cards on top of that. I also included a small scrap of striped vintage sheet fabric. Ephemera art is a great way to use up those little fabric scraps.
I save all my favorite tiny pieces of fabric for projects
Step 5: Tape your collage together
I use regular Scotch tape for this project. I’m sure you can use scrapbook tape or glue but I like to keep it simple. I roll the tape into a tube so it’s double-sided and place it on the back of all my items, including the fabric scrap. Then affix your ephemera in place.
For a small frame I used a scrap of wrapping paper, a mini greeting card and an old photograph.
For another small frame I made a collage with two vintage sheet scraps. I took a blank shipping label and peeled off the back to reveal the adhesive. Stick the wrong side of the fabric onto the adhesive and spread it out. Then cut the excess fabric off. I taped a little card on top of the fabric to complete the collage.
For this collage, I used a plain book page and layered a botanical print overtop from a thrift store gardening book. Then I added a scrap of gift wrap, a greeting card, a vintage cutout from an advertisement and a county fair ticket from the 1950’s. Since all my frames will be together on a gallery wall I added another scrap of the same piece of fabric to tie it together.
Step 6: Frame your collage art
Slide your homemade artwork into your frame and enjoy! When the seasons change I take the collages out and create new art for different holidays. I use the back side of my original project as a base for anything new.
I love making different collages with this method. I made bridal themed art for my wedding out of bridal magazines. You can check out a travel themed collage that is on display in my hallway here. Thanks for checking out my blog and let me know if you have any questions!

